

Solar observation can be tricky or underwhelming when trying to observe with handheld methods such as using solar eclipse glasses and solar binoculars. Hunting for the sun with binoculars can be tricky due to the essential ISO 12312-2 rated solar filters on the glass blocking all vision except for the solar disk itself. This is where a smart telescope like the entire Unistellar range can help; it automatically finds and tracks the solar disk from a few presses on your smartphone.
Need a smart telescope? Skip ahead to pick from our list of recommendations to suit all budgets.
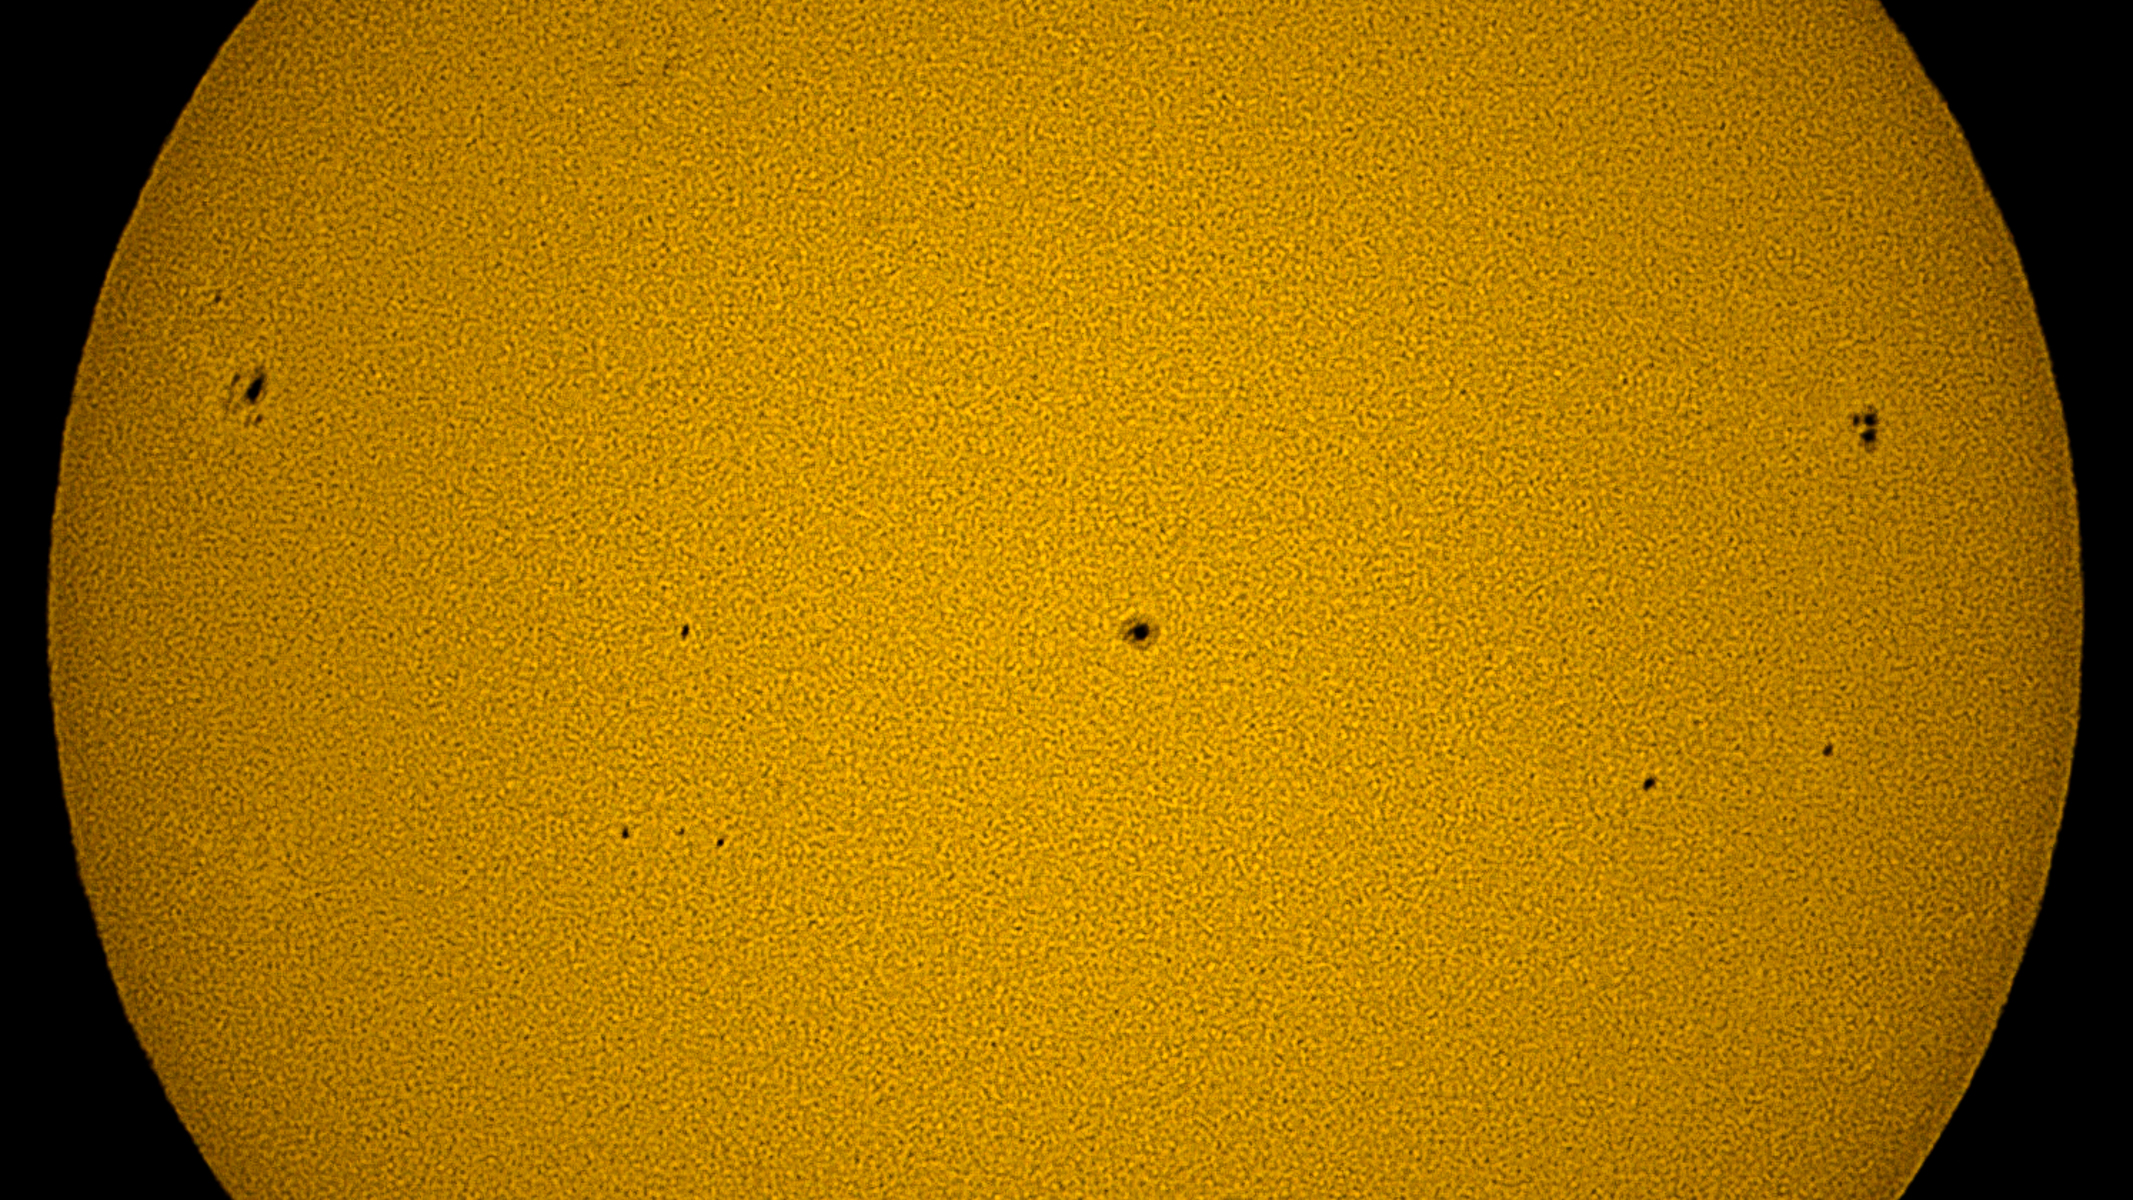 With some light adjustments in Adobe Lightroom, the details on the solar surface really pop out on the photograph from the eQuinox 2. Harry Bennett / Future
 All it takes is a few seconds to stack frames on a smart telescope and get more detail on the solar surface.Harry Bennett / Future
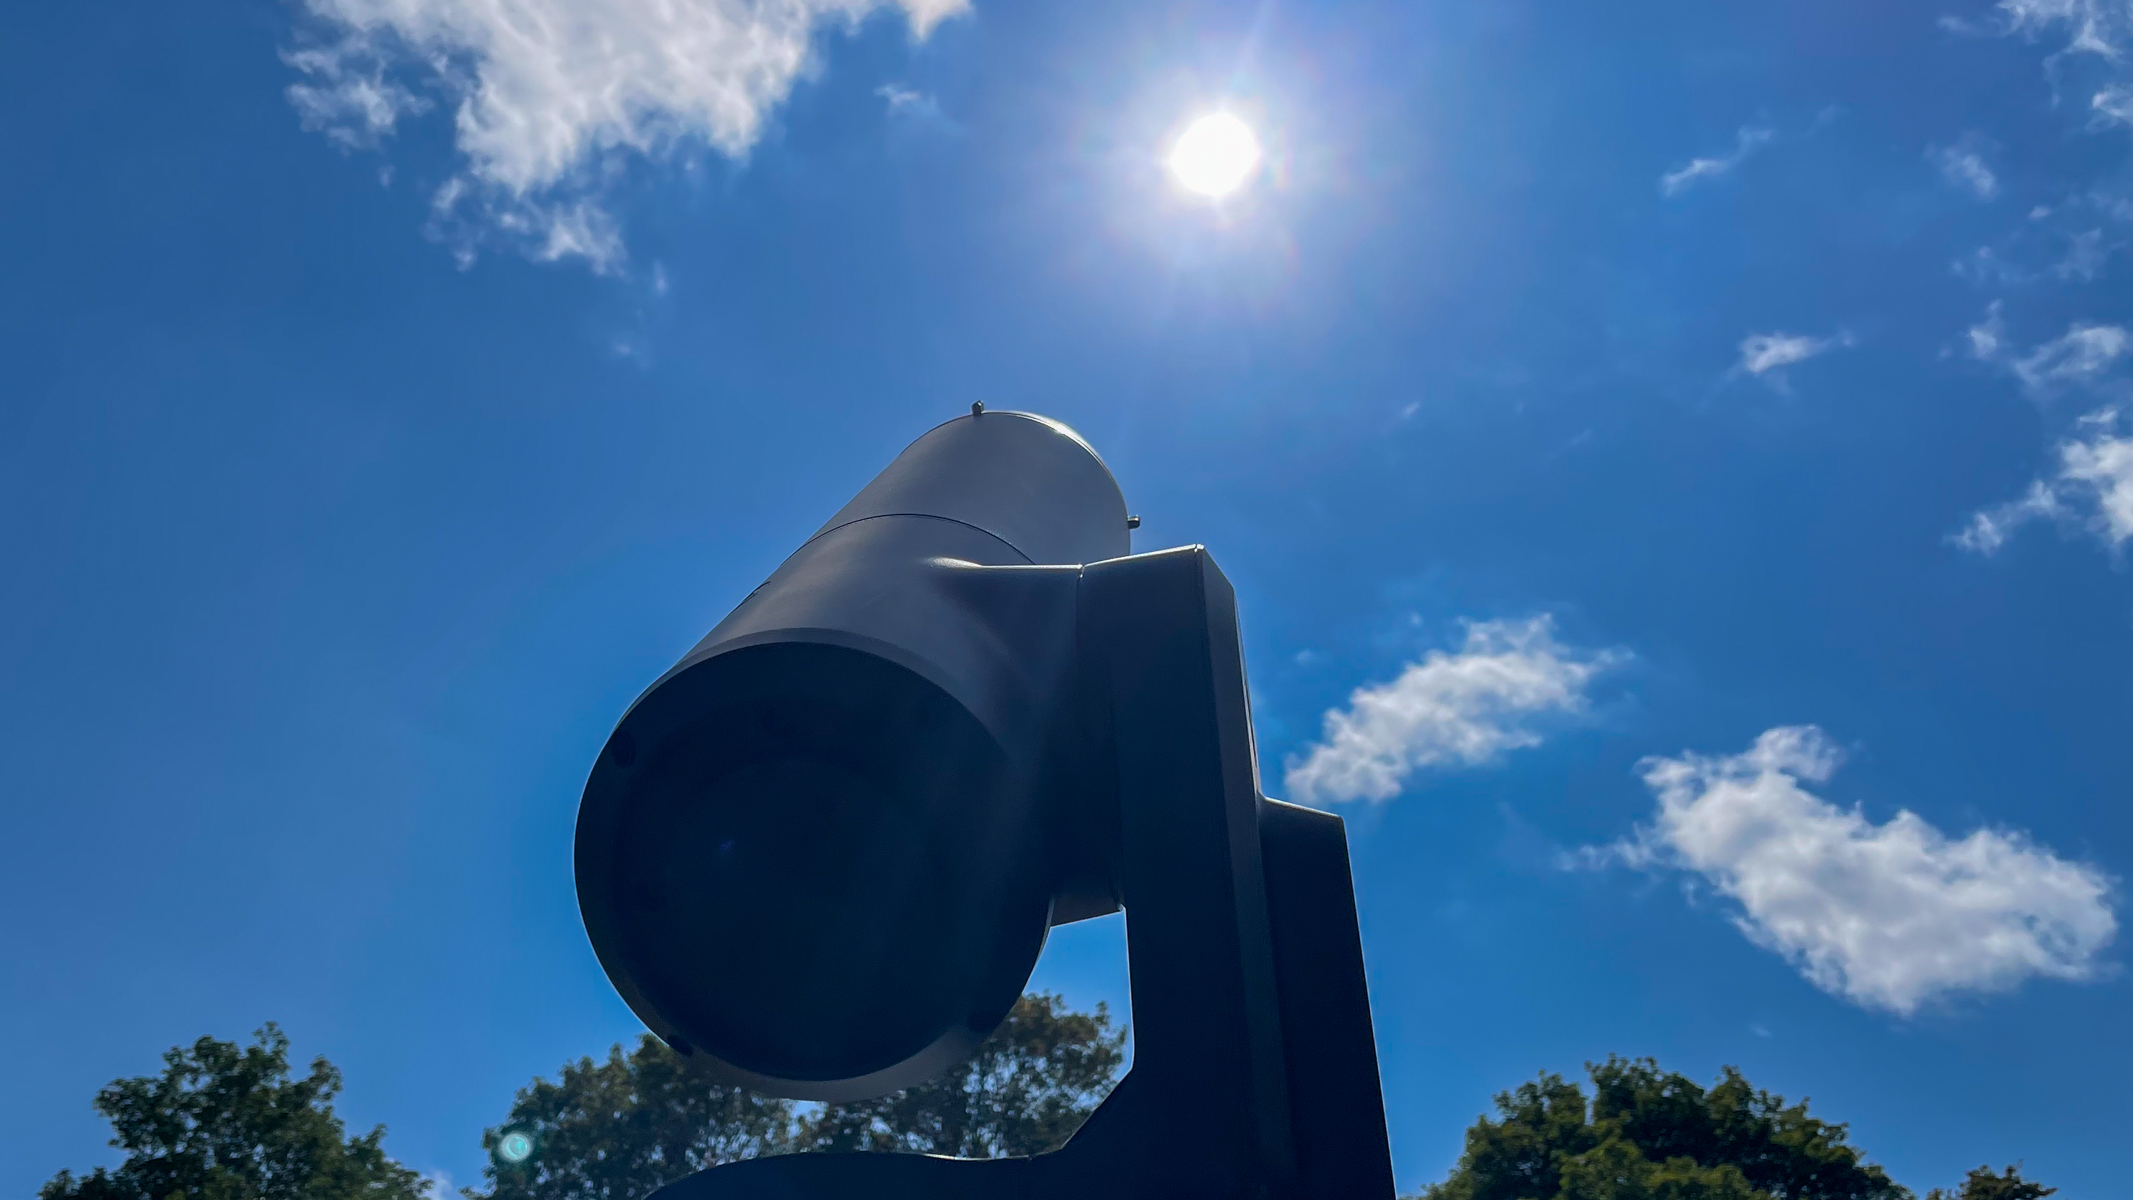
All you need is to attach the correct Unistellar solar filter for your model, click Go-to on the Sun and the telescope will slew to the solar disk. If connected to a tablet or larger screen, you can get a much bigger image of the sun to share with groups and family. This also allows you to watch the observation from a shaded spot and get comfortable without needing to stay out under the beating sun.
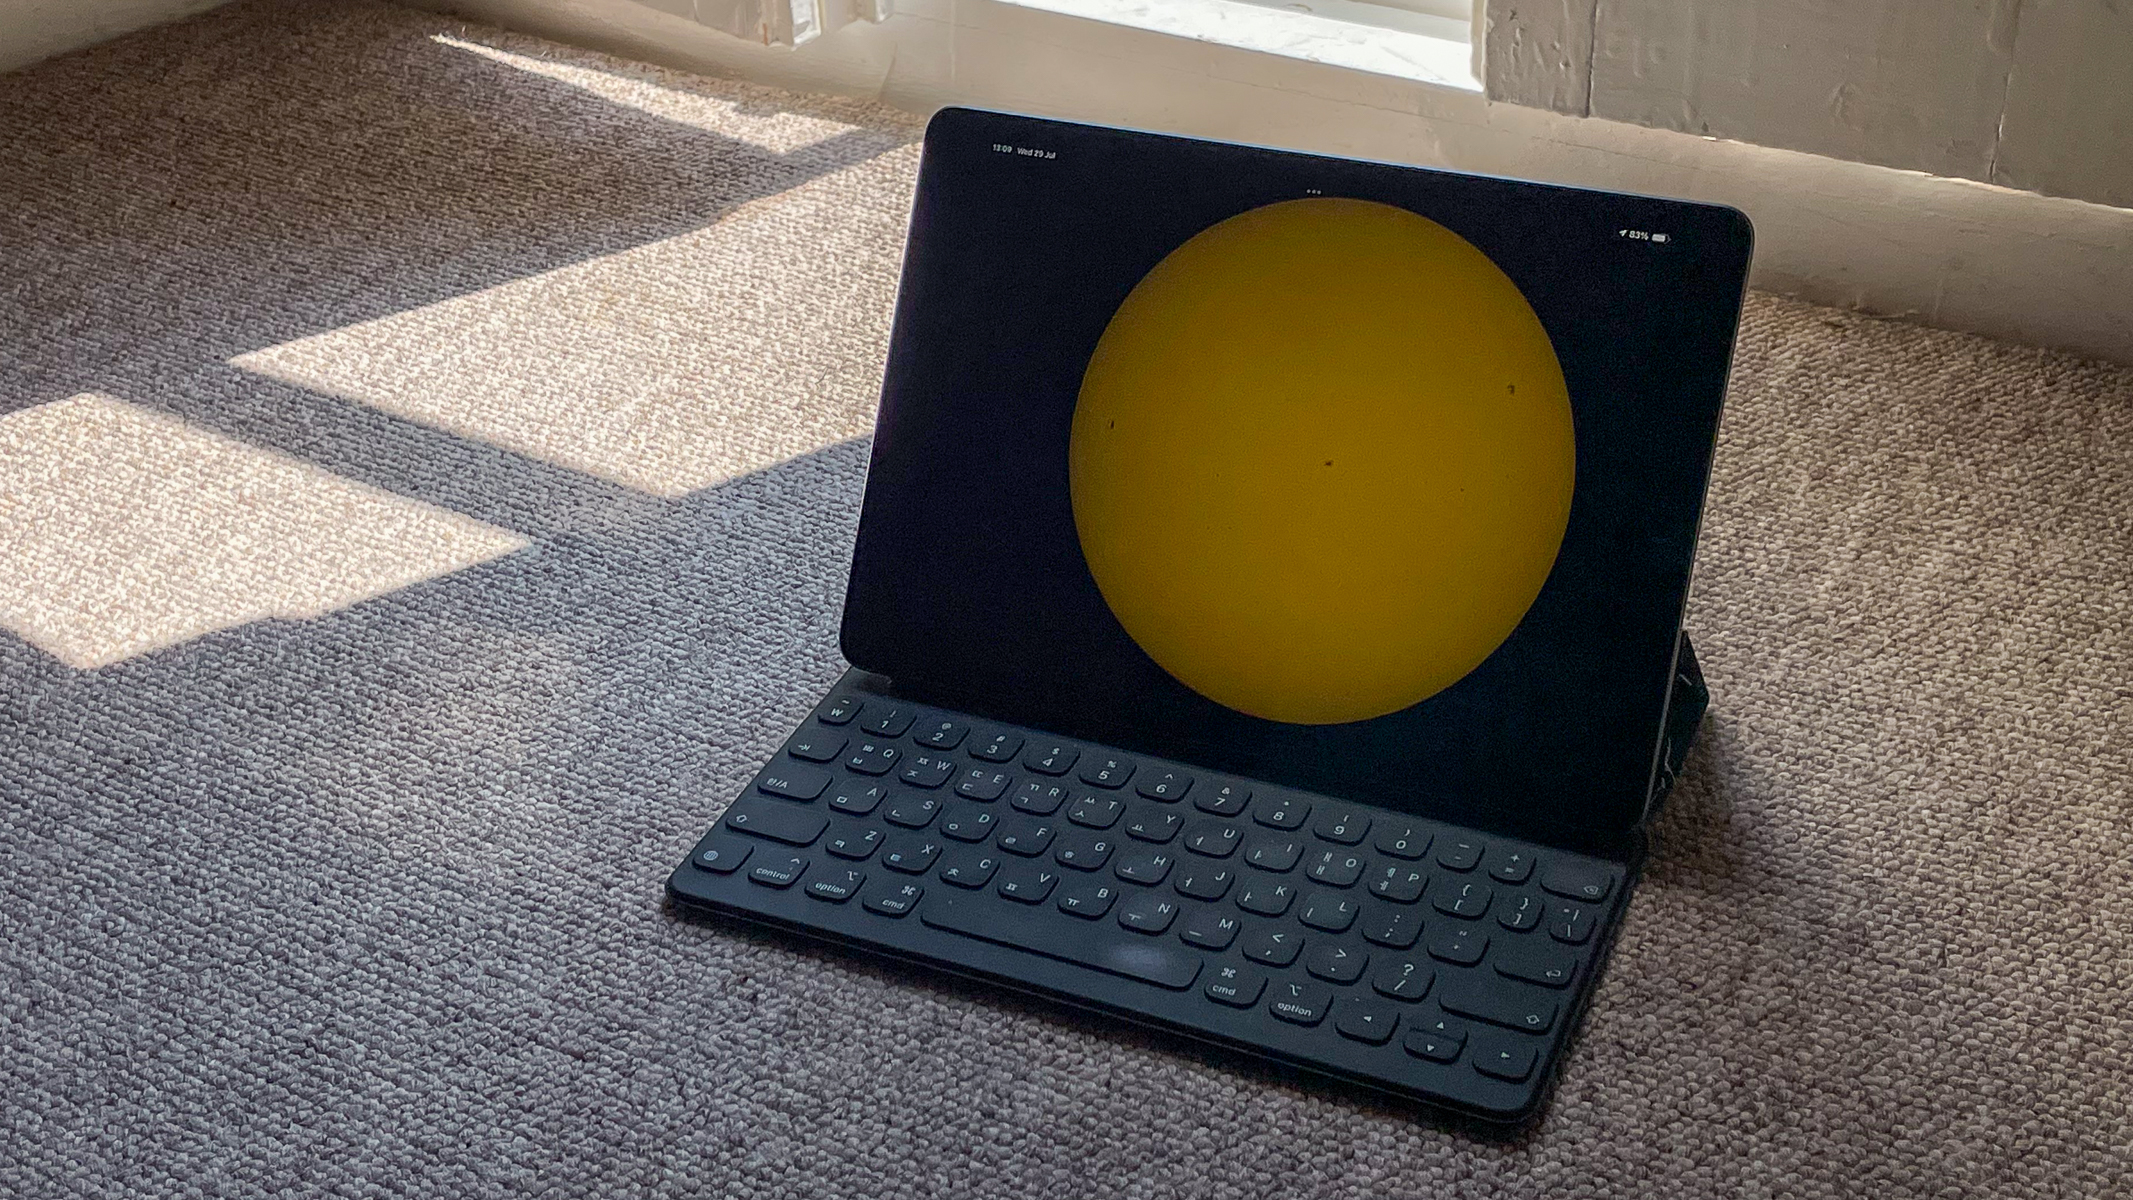
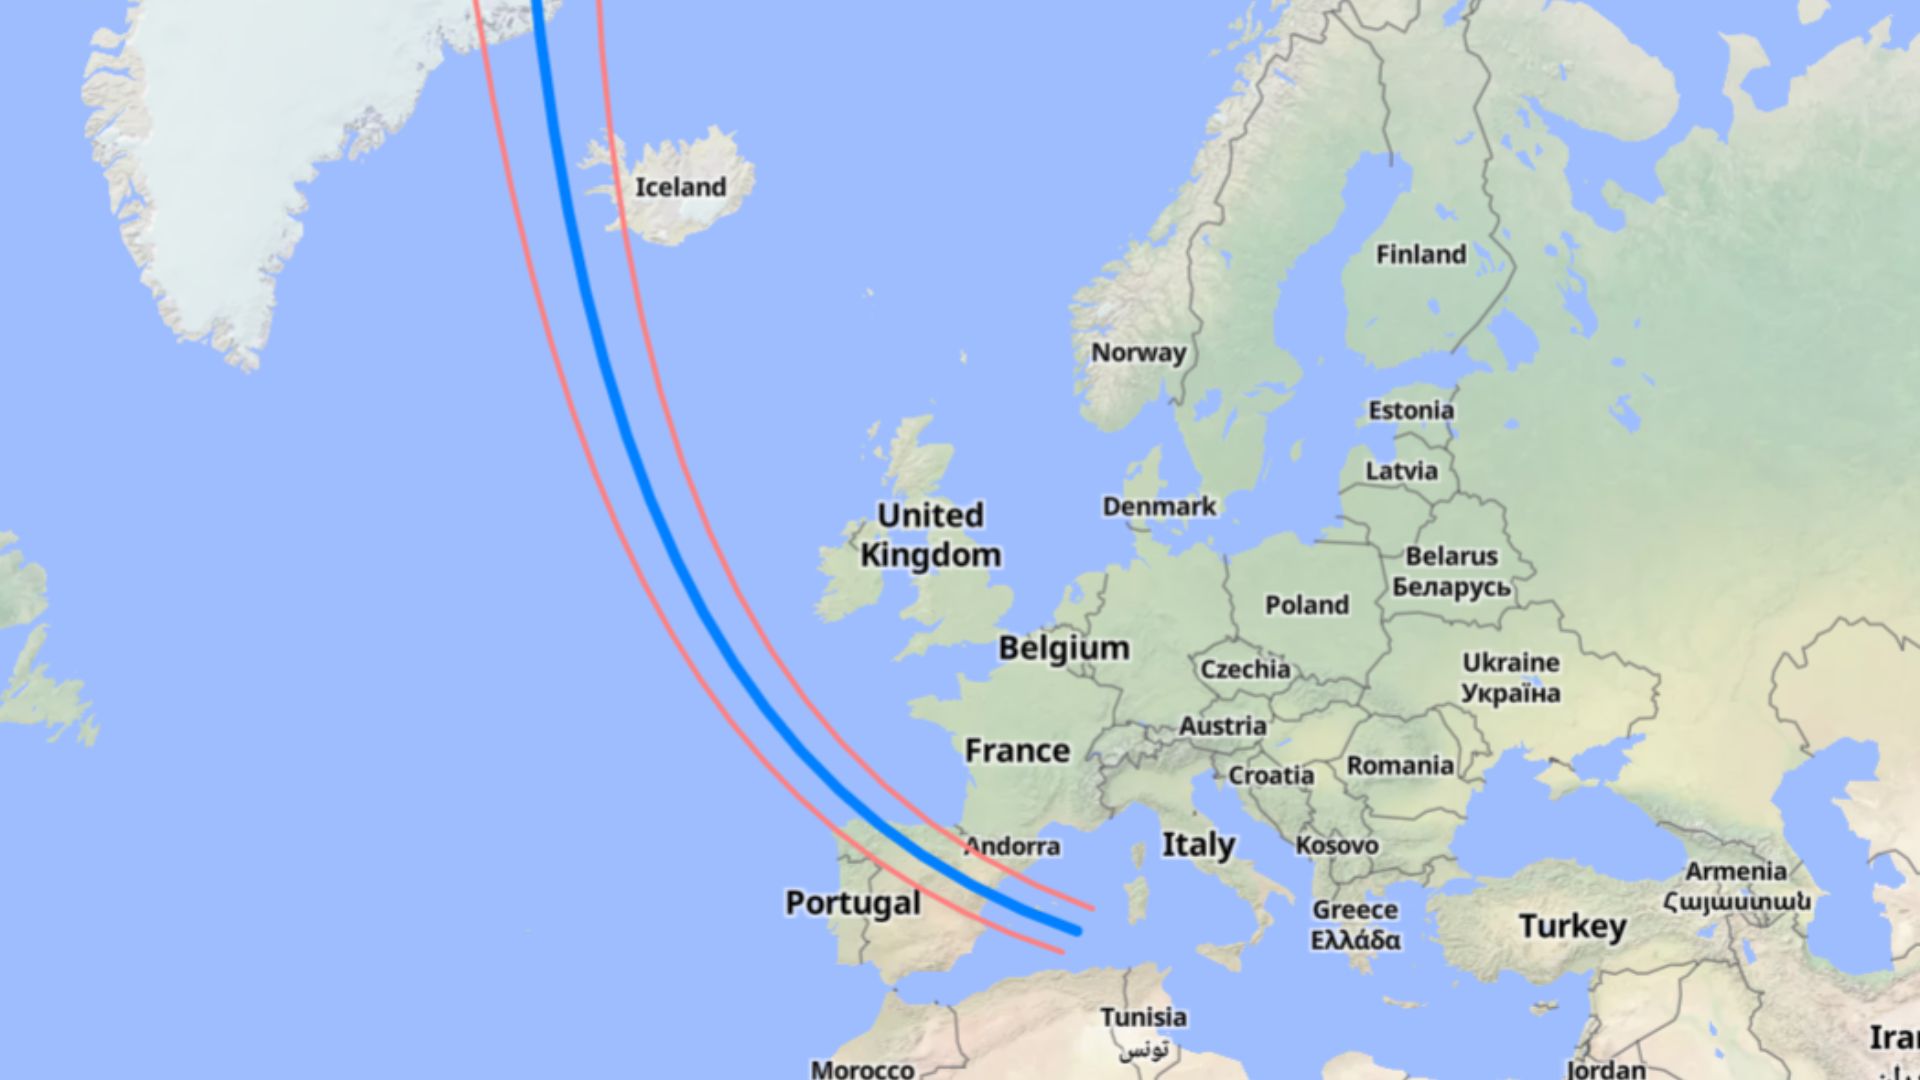
Smart telescopes not only find and track the solar disk but they can image it too. Using built-in image focusing, stacking and processing, the telescope delivers a sharper image within seconds and reveals solar details like sunpots on the surface. If you don't want to miss getting a shot of the next solar eclipse, you can use the solar observation mode to capture the sun at all stages of the eclipse from your smart telescope. At the time of writing, the next total solar eclipse is coming on Aug. 12, 2026 and will be mainly visible in Greenland, western Iceland and northern Spain. Partial eclipses will be visible in some other European countries, parts of Canada and New York City.
What to do: A generalist step-by-step for most smart telescopes
1. Turn your smart telescope on2. Link the smart telescope to a smartphone or tablet3. Install the solar filter if the model requires a separate attachment4. Select the sun on the app and wait for the location5. Focus the image if needed and then use enhanced vision for more detailWhat do you need?
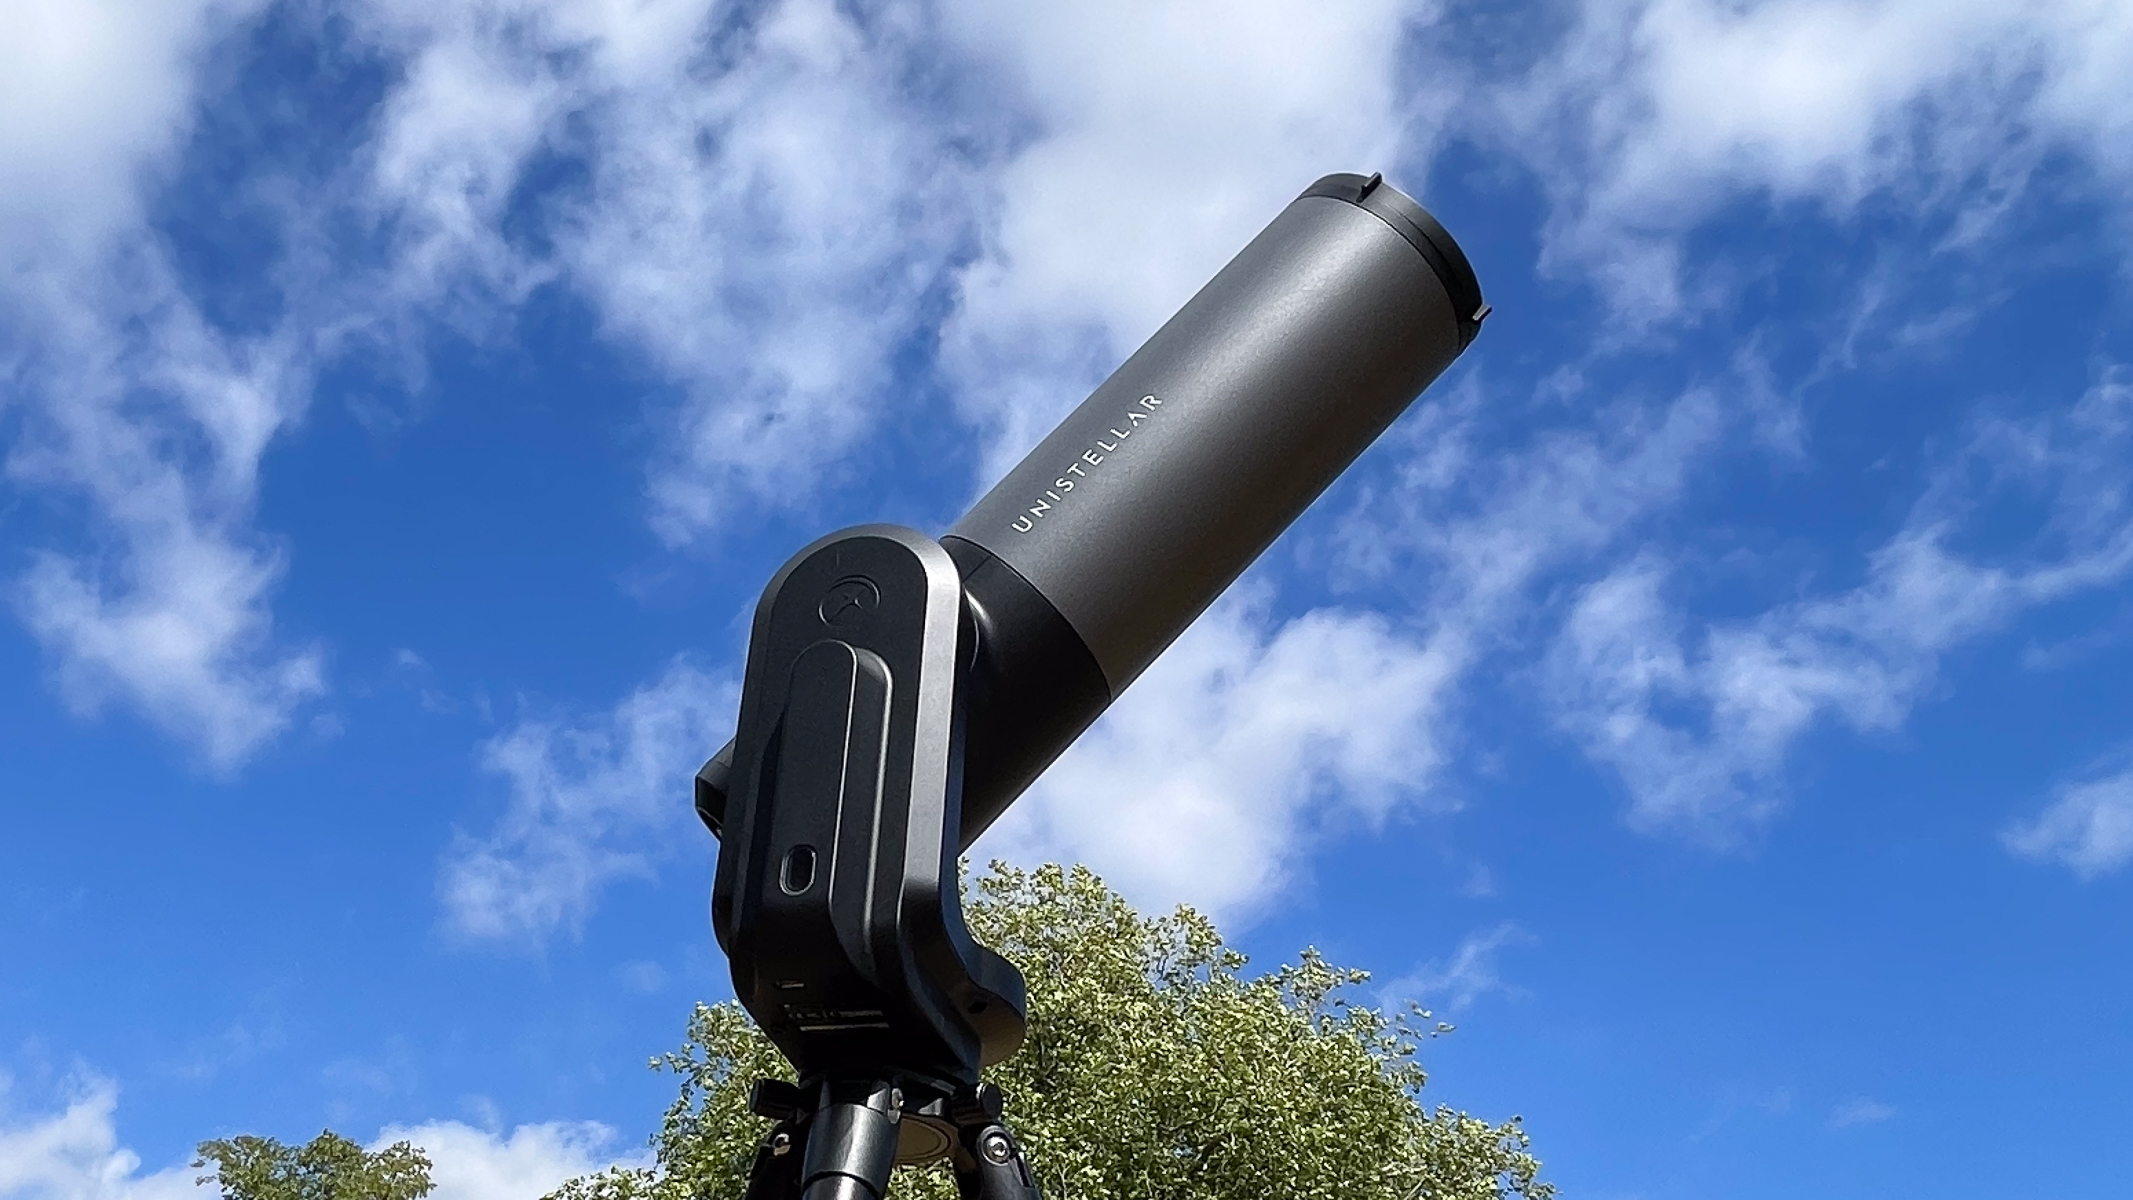
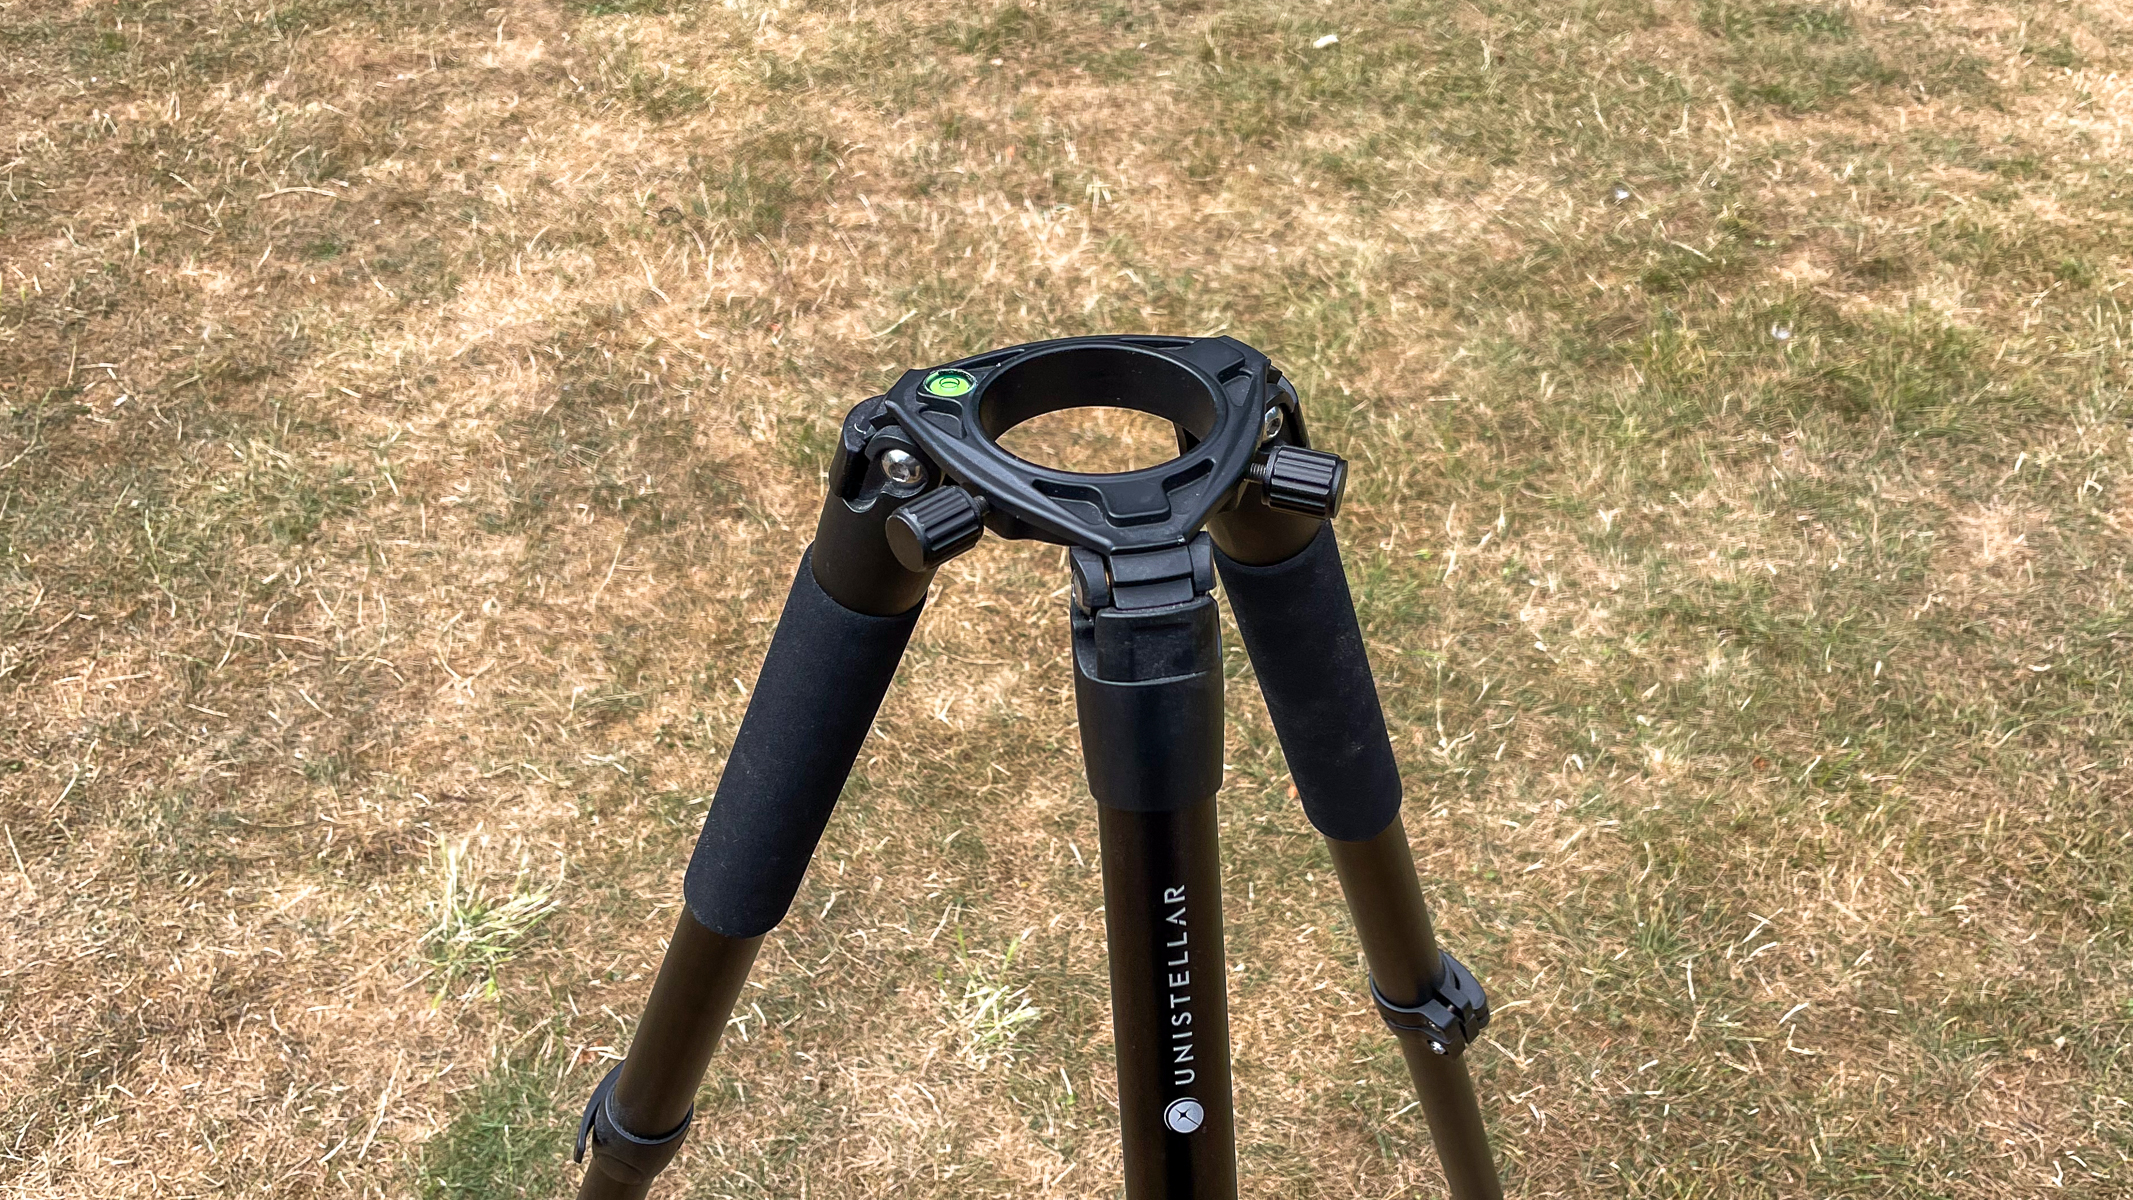
For solar observation with a smart telescope, the first thing you will need is a smart telescope. While I'm going over how to use a Unistellar eVscope 2 for solar imaging and observation, most of the other smart telescope brands have models that are capable of this too, like the Dwarflab Dwarf Mini 3 and Vaonis Vespera II. If you are used to using a traditional telescope, bear in mind that you will need a smart device to operate the smart telescope and observe your targets. Most smart telescopes come with a tripod, so you shouldn't have to worry about getting one extra but it is an essential piece of equipment.
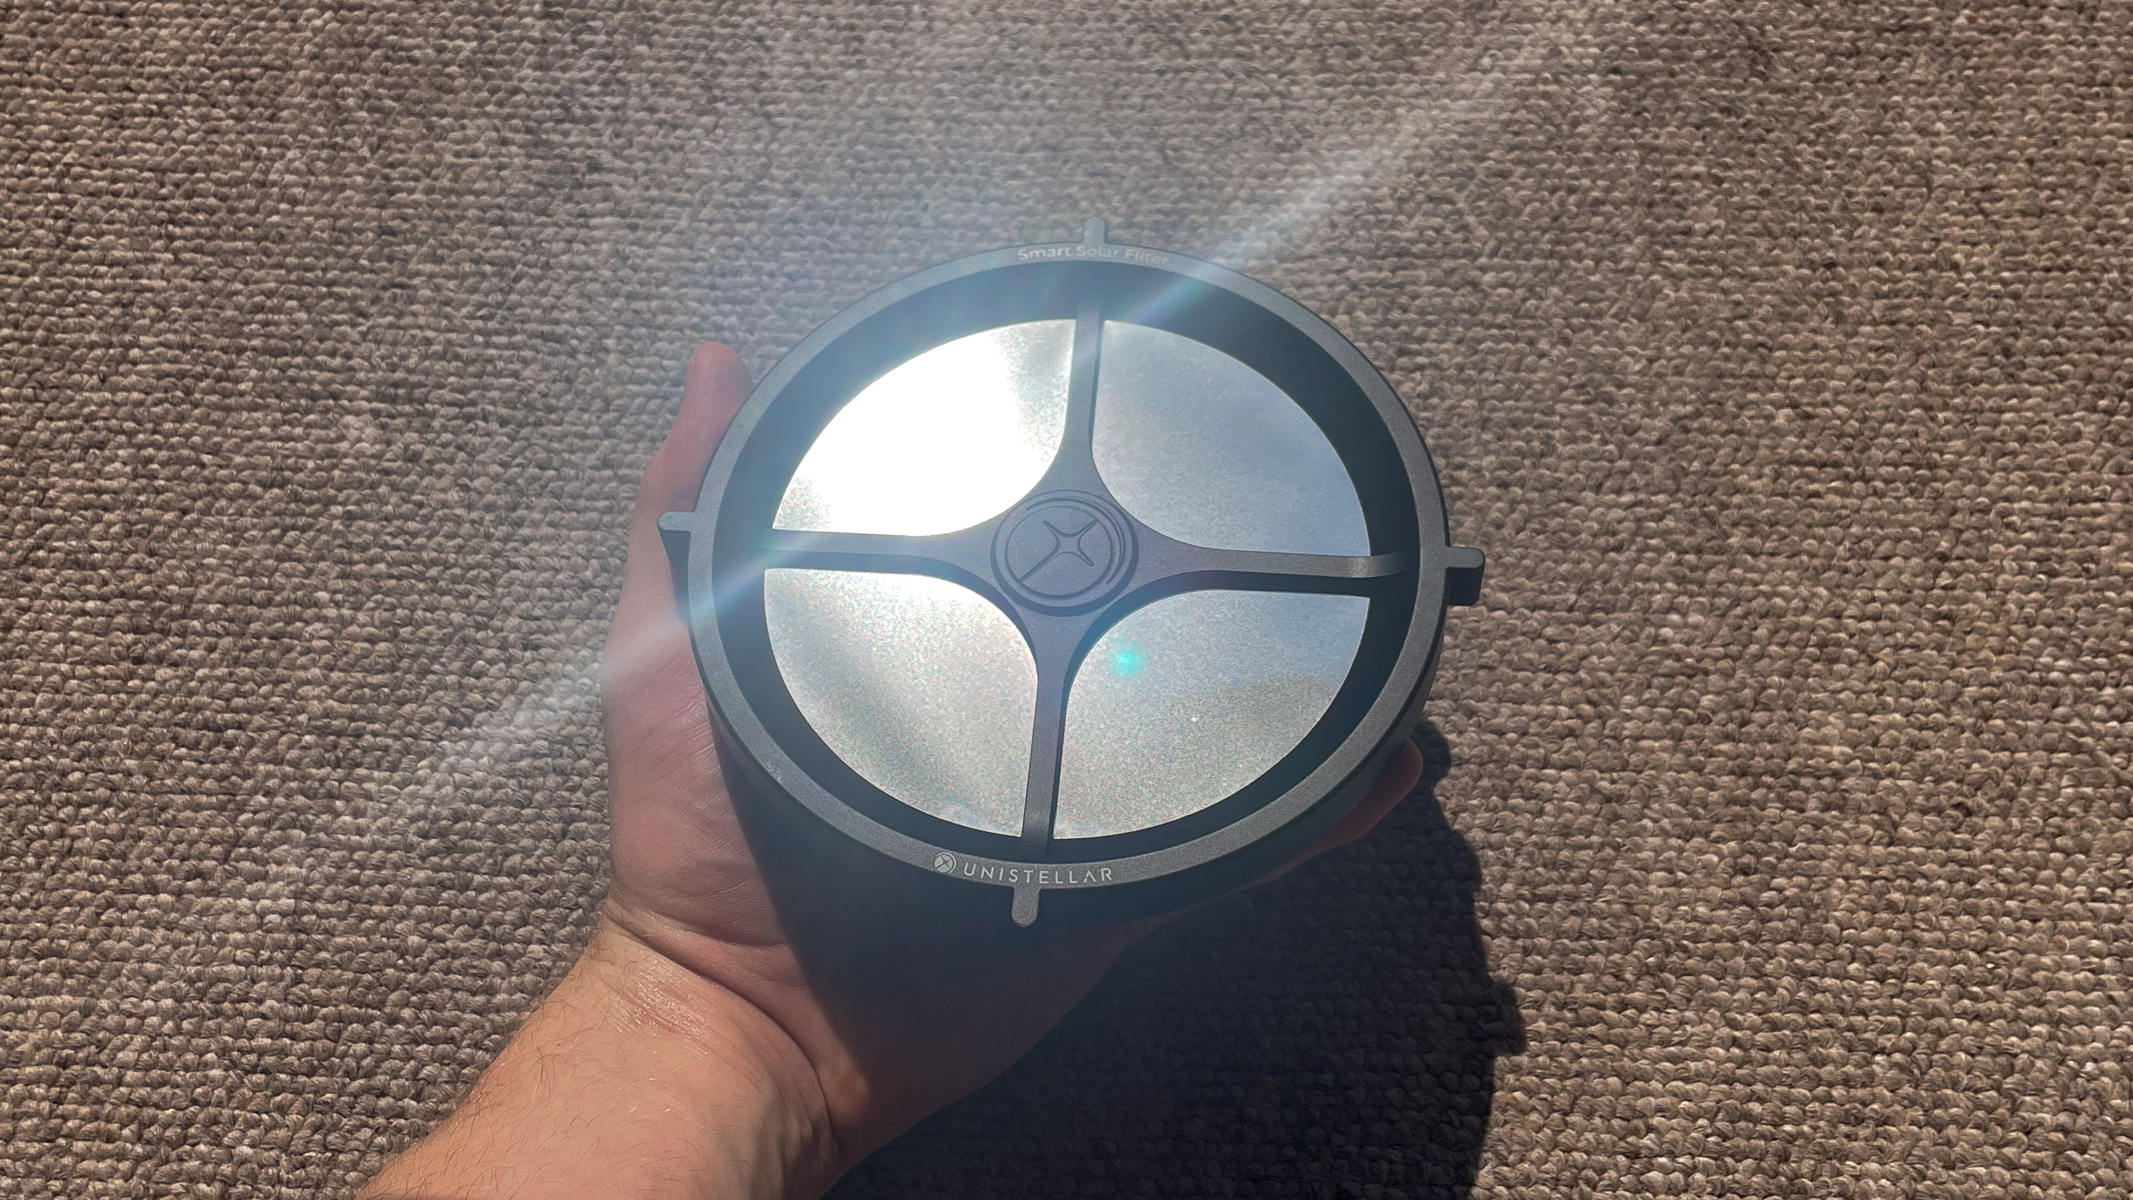
Next, you need a solar filter for your telescope. This is to protect the image sensors in the body of the telescope and drastically reduce the amount of light entering the aperture, so that you don't get a highly overexposed image. Many brands sell these solar filters separately and in the case of Unistellar, you have to make sure you get the right one for your model. There is a solar filter for their Odyssey range and then another filter for their pro range, which features the eQuinox 2 and eVscope 2 models.
Finally, you will also need access to somewhere with a good view of the sun, so a park, garden or open space is ideal. Solar imaging is best done in mid-to-late morning before the sun has heated up our atmosphere, which causes disturbance in the image. This is especially important if you are looking to get crisp shots of sunspots.
Observing and imaging the sun
Make sure your tripod is level, with your smart telescope properly attached, then turn it on and remove the dust cap. Open your preferred app and add your device by following the on-screen instructions.
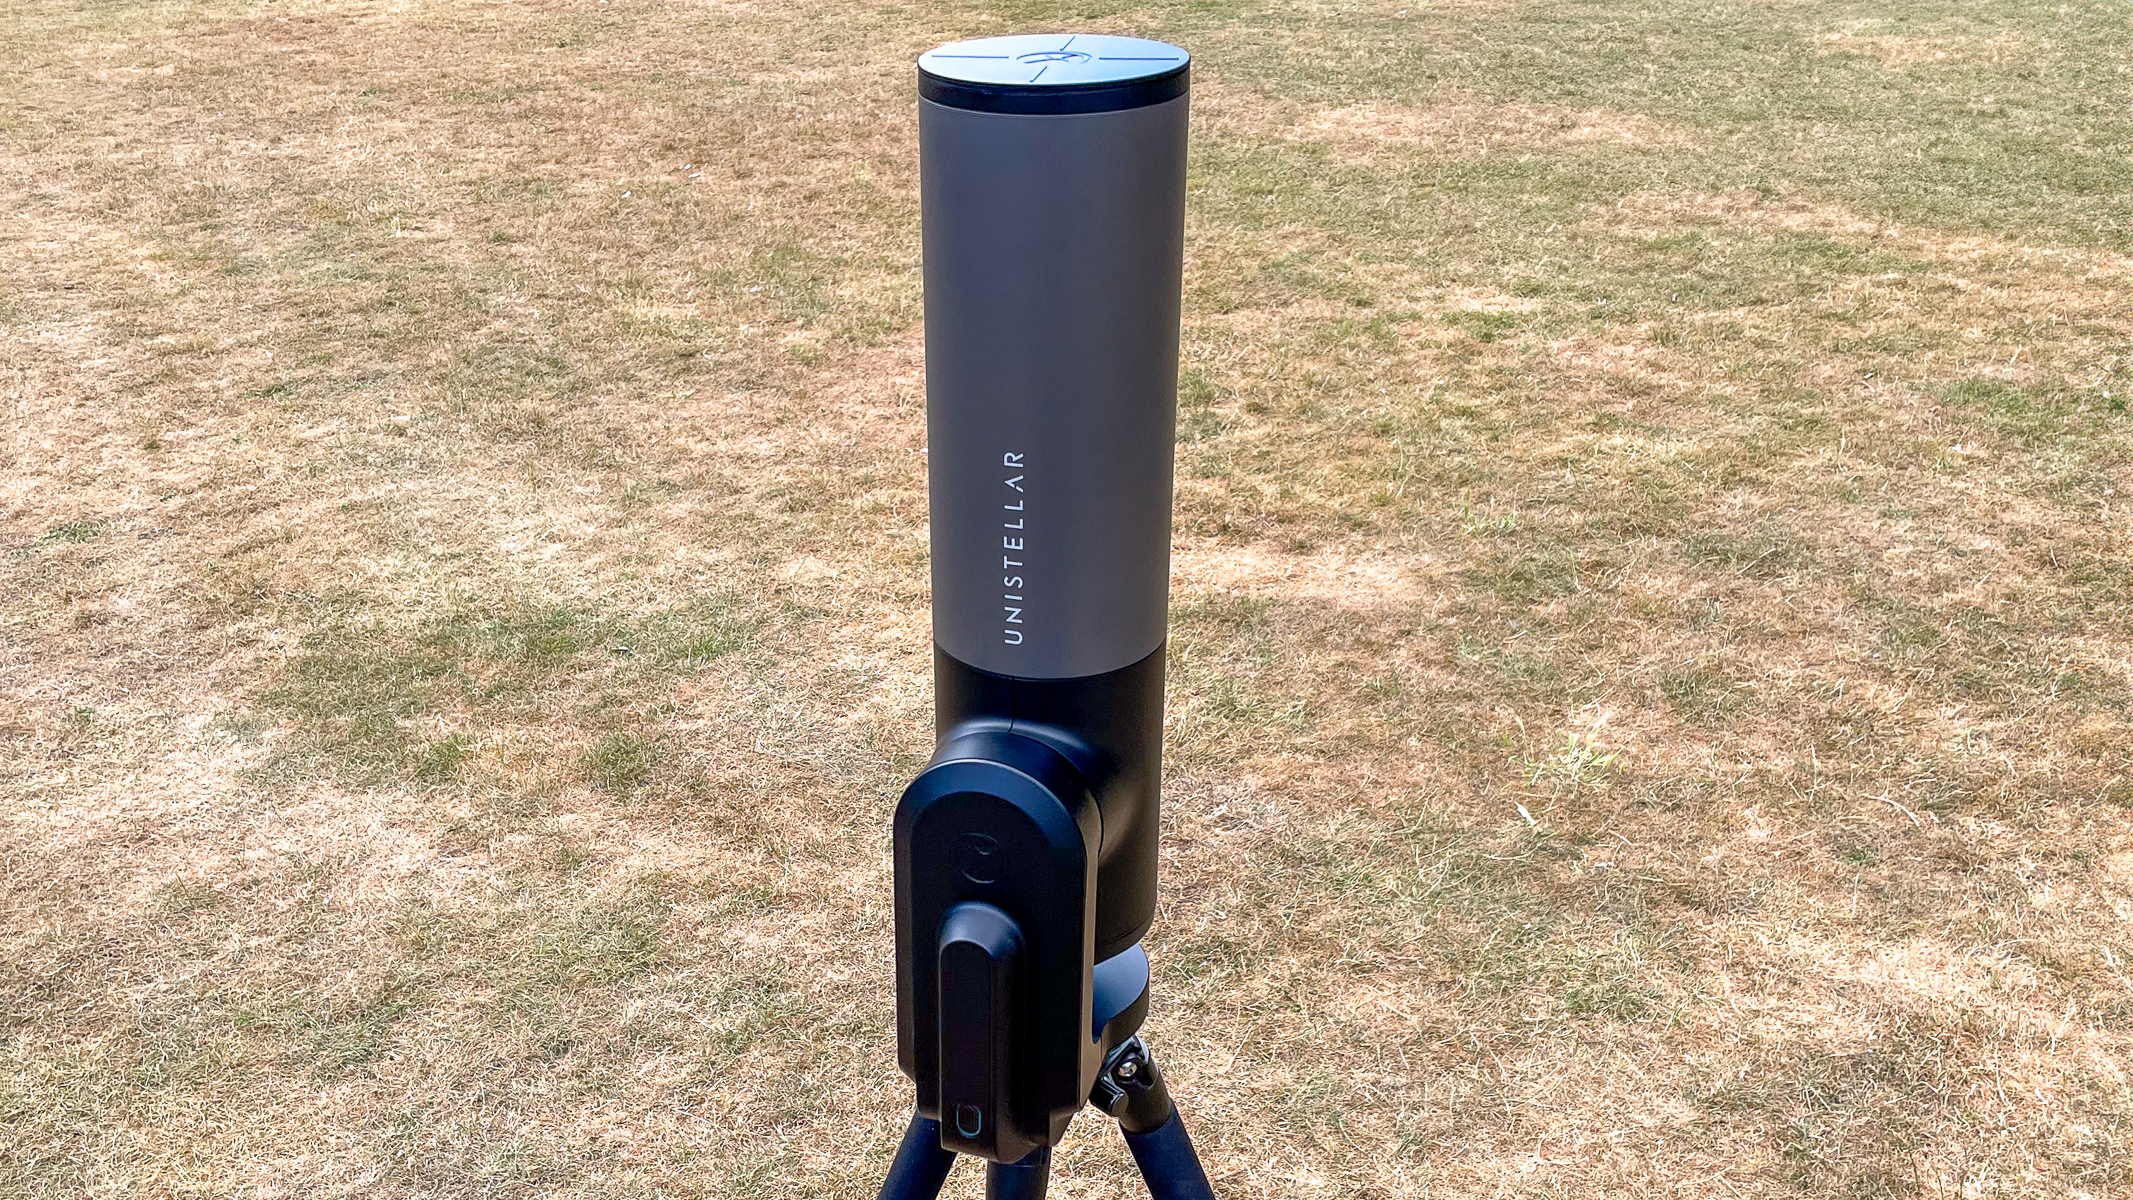 The Unistellar eQuinox 2 is easy to set up in a yard or open space.Harry Bennett / Future
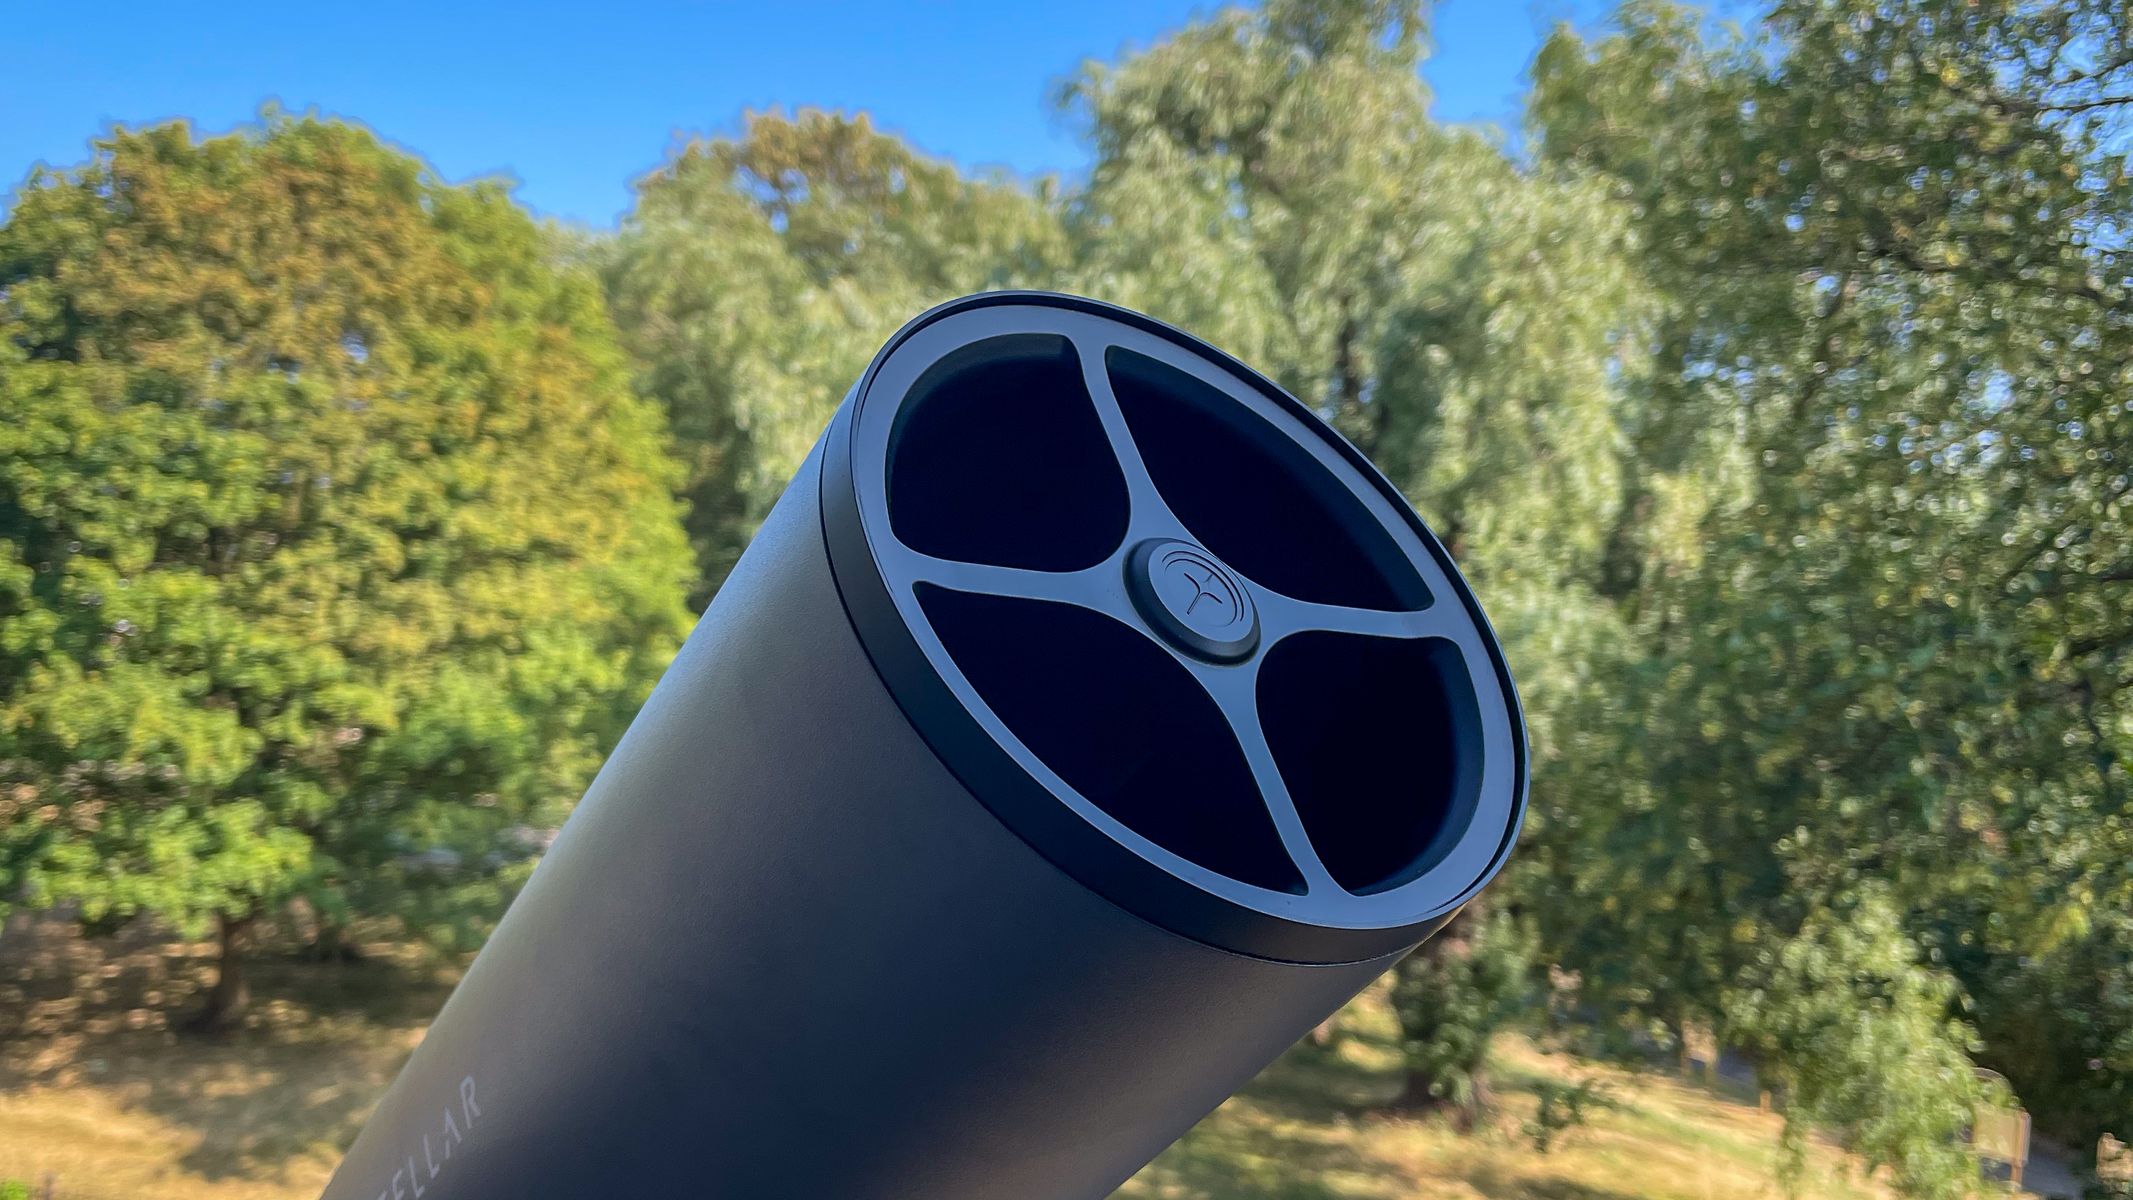 Used with a solar filter, smart telescopes allow you to track night sky objects and grab sharp images. Harry Bennett / Future
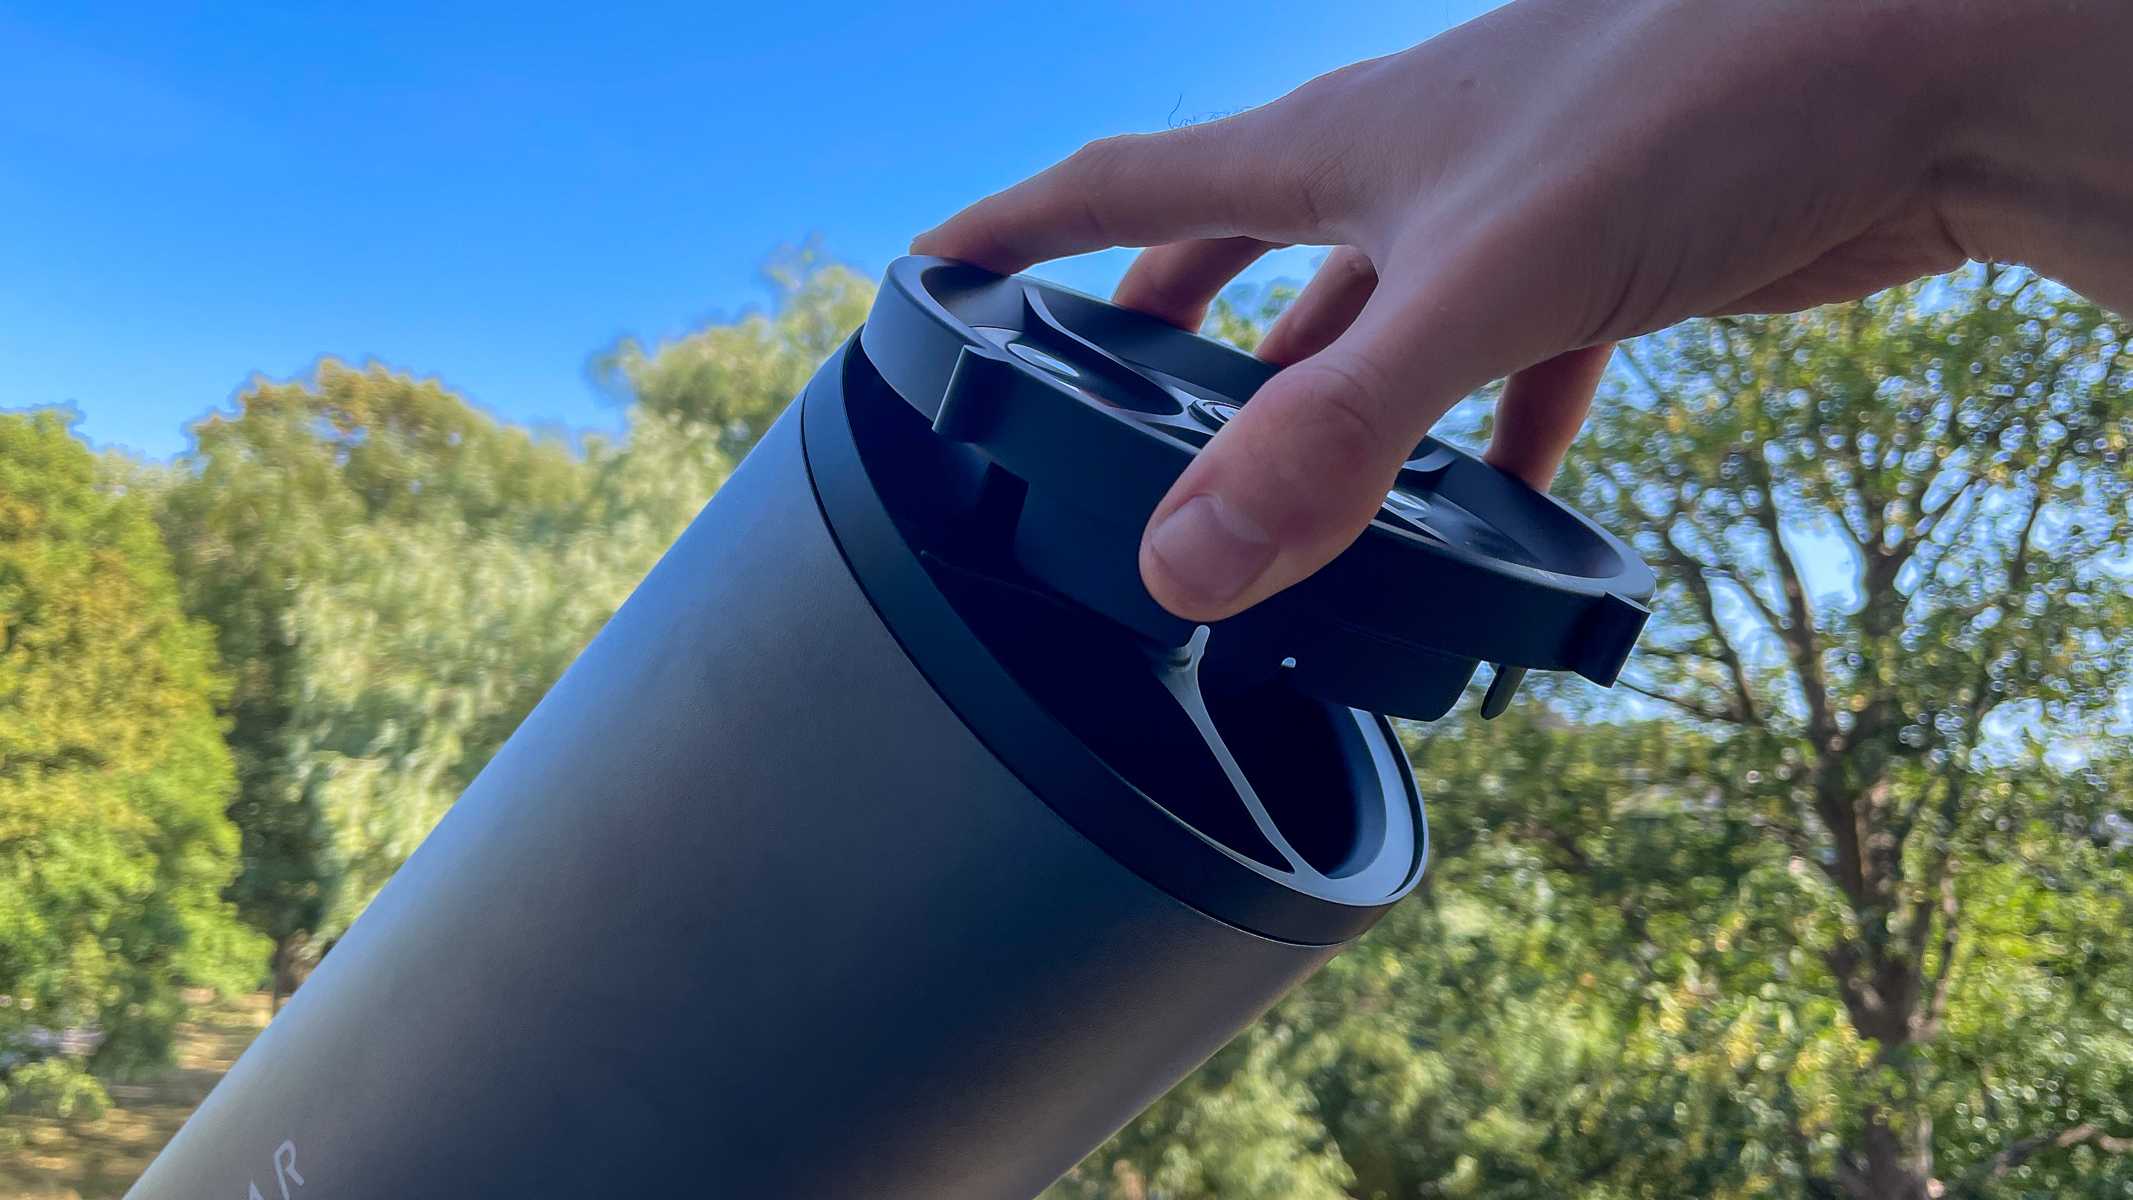 The solar filters are easy to attach to the aperture on the eQuinox 2. Harry Bennett / Future
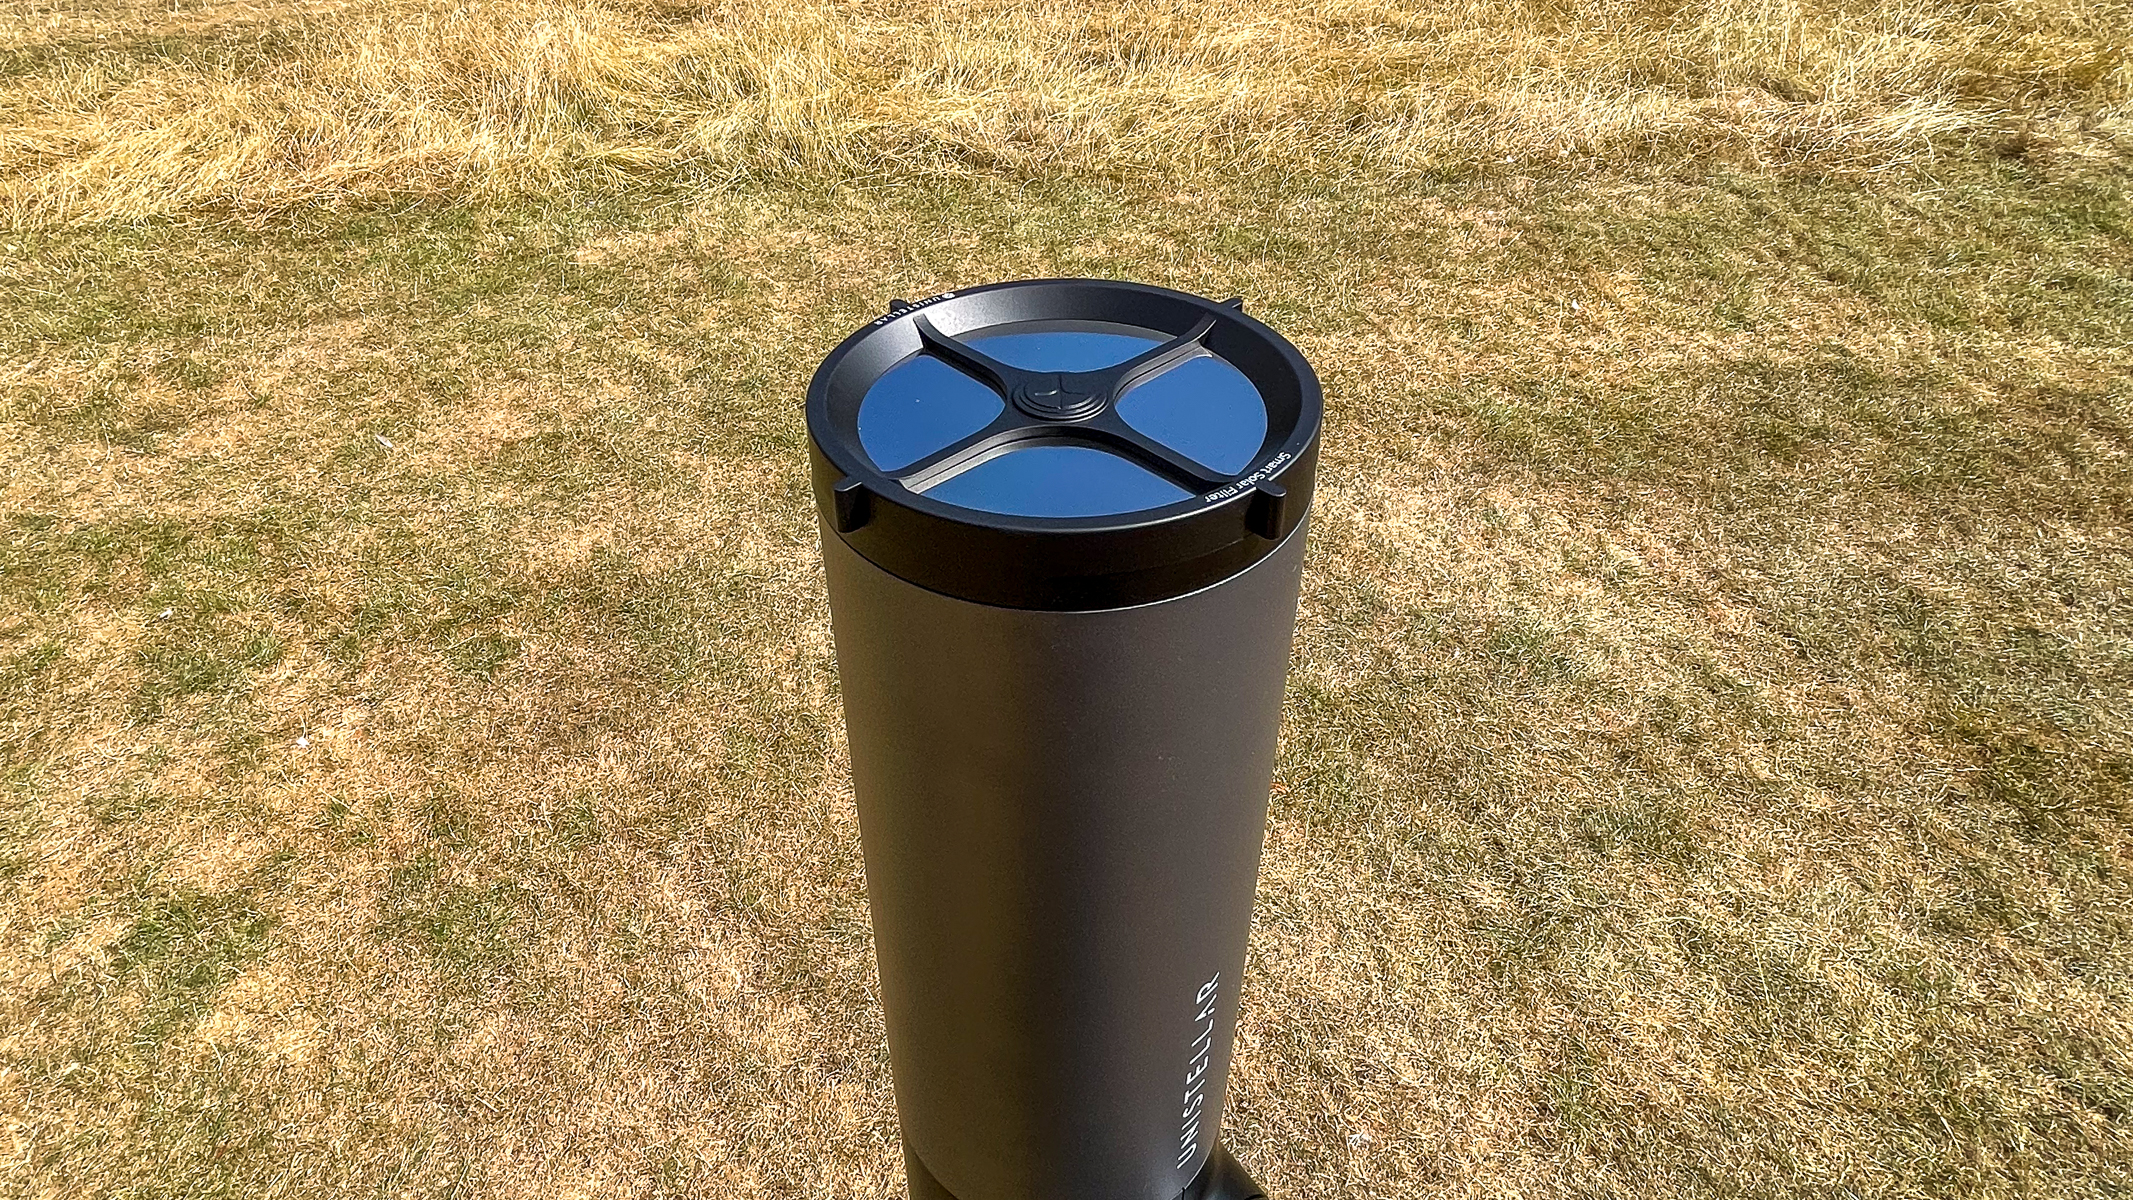
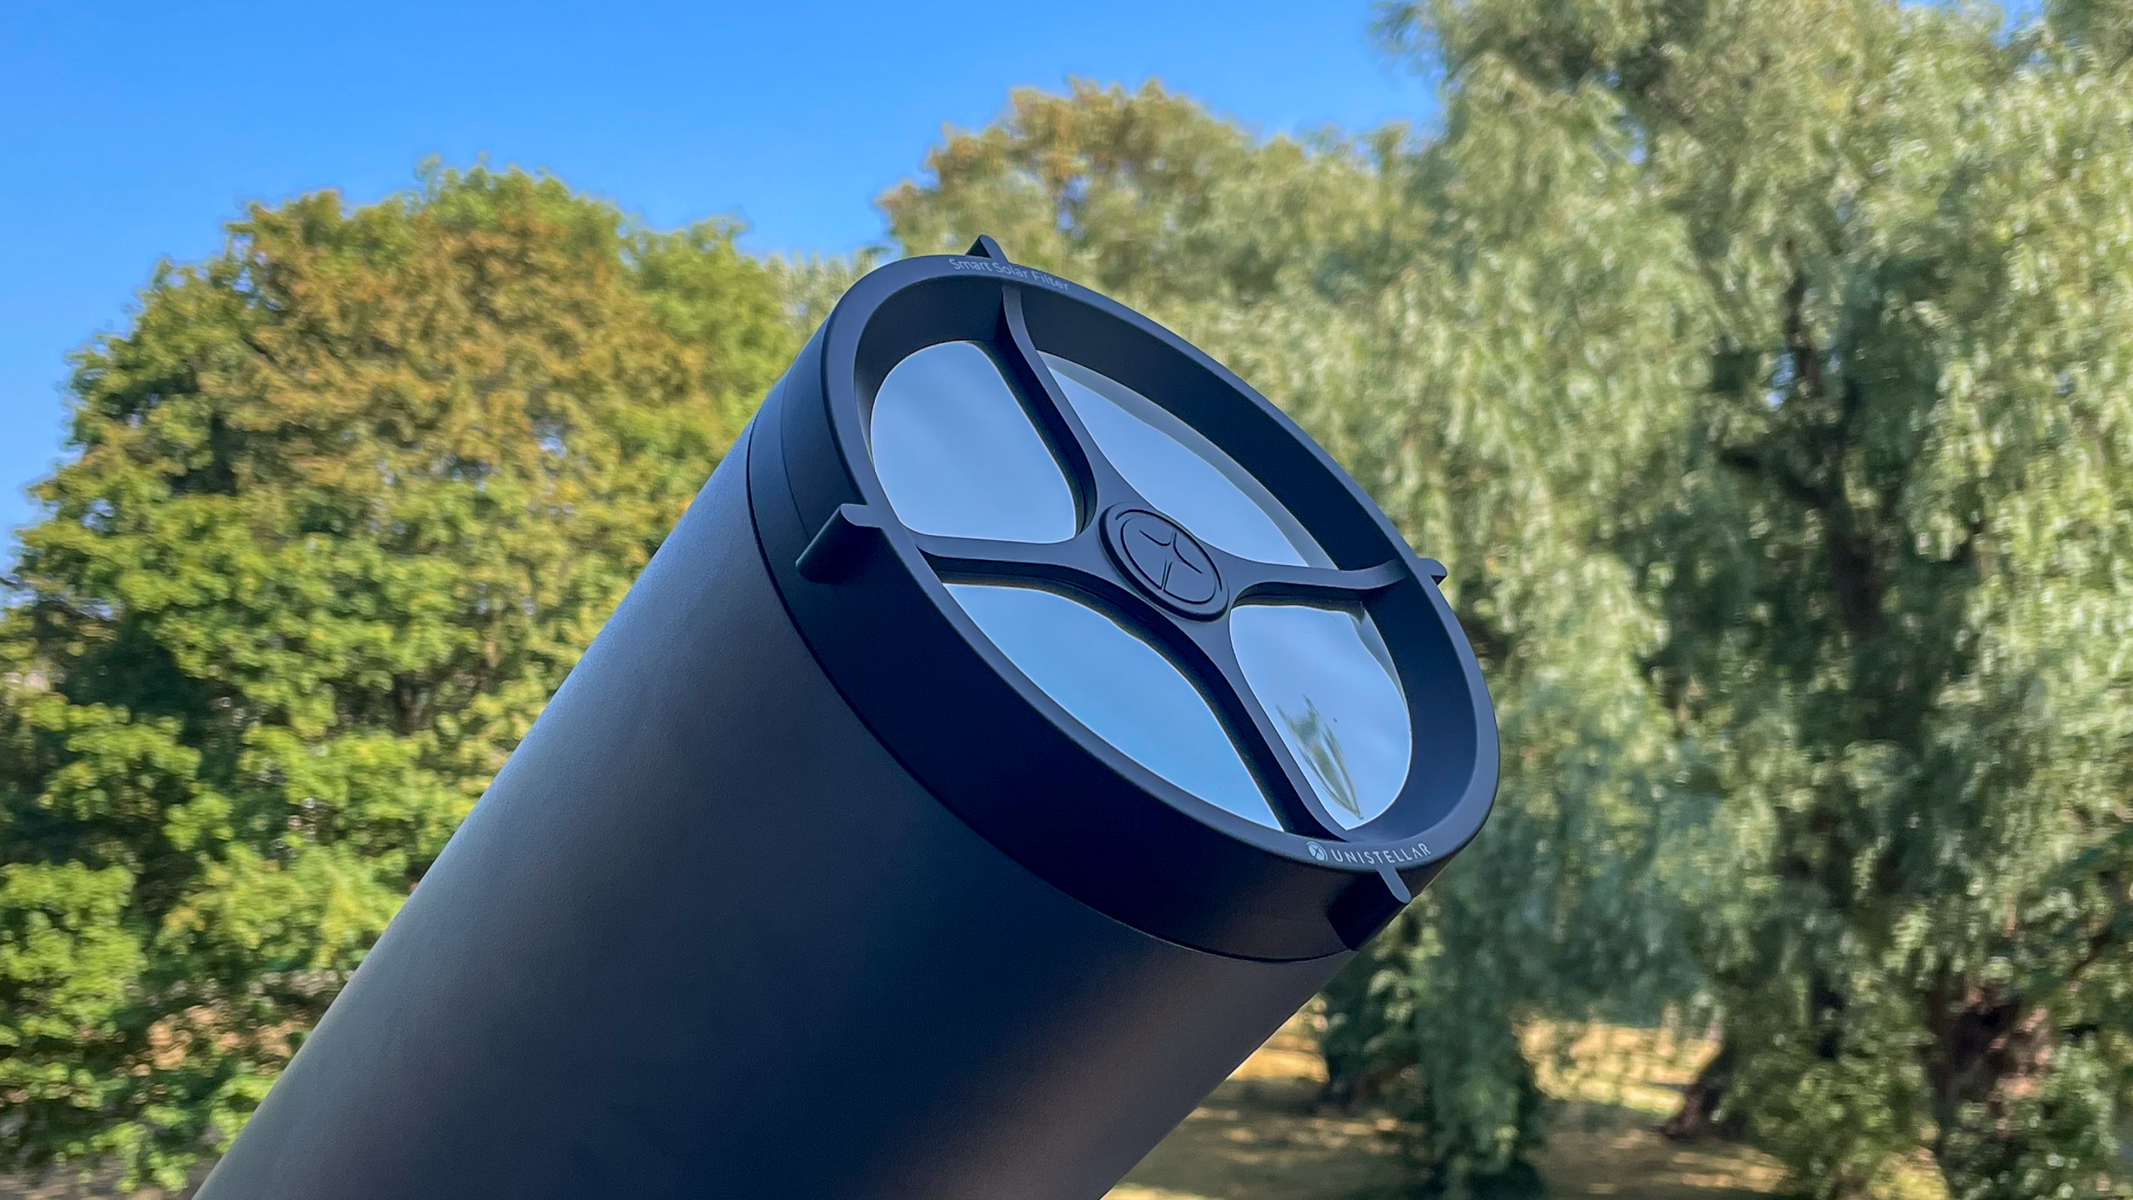 With the solar filter attached, the eQuinox 2 is ready for solar observation and photography. Harry Bennett / Future
Next, you should inspect your solar filter for any tears or holes, as any exposure to the sun without the filter can permanently damage the sensor. Installation is easy as you just clip the filter onto the end of your smart telescope.
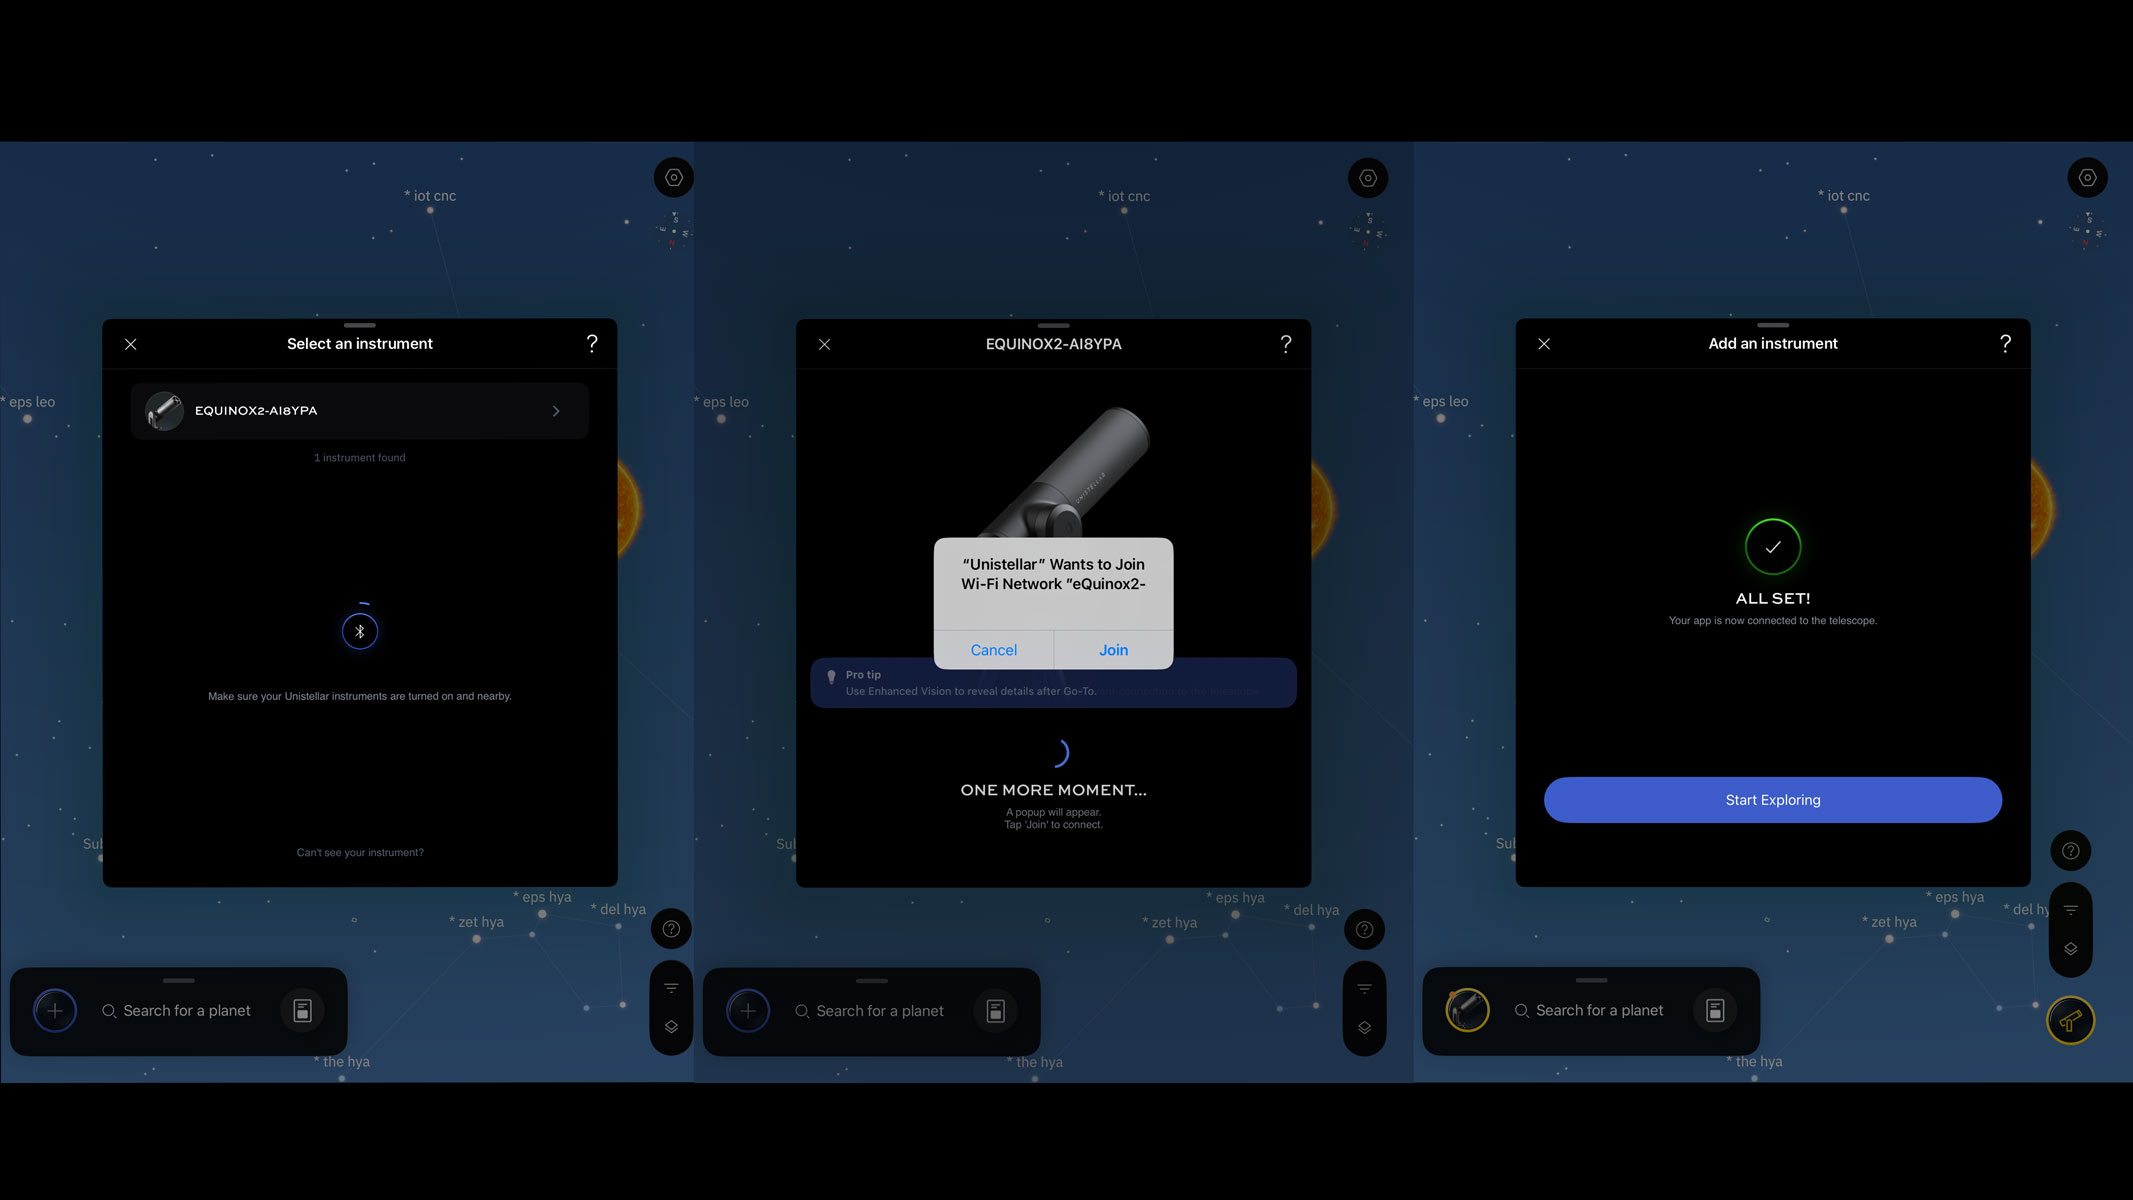
After the device is connected, go to the list of sky targets in your app and it will allow you to browse or search for the sun. Click on it to bring up the go-to functions and if you are interested, more astronomical information about your chosen target.
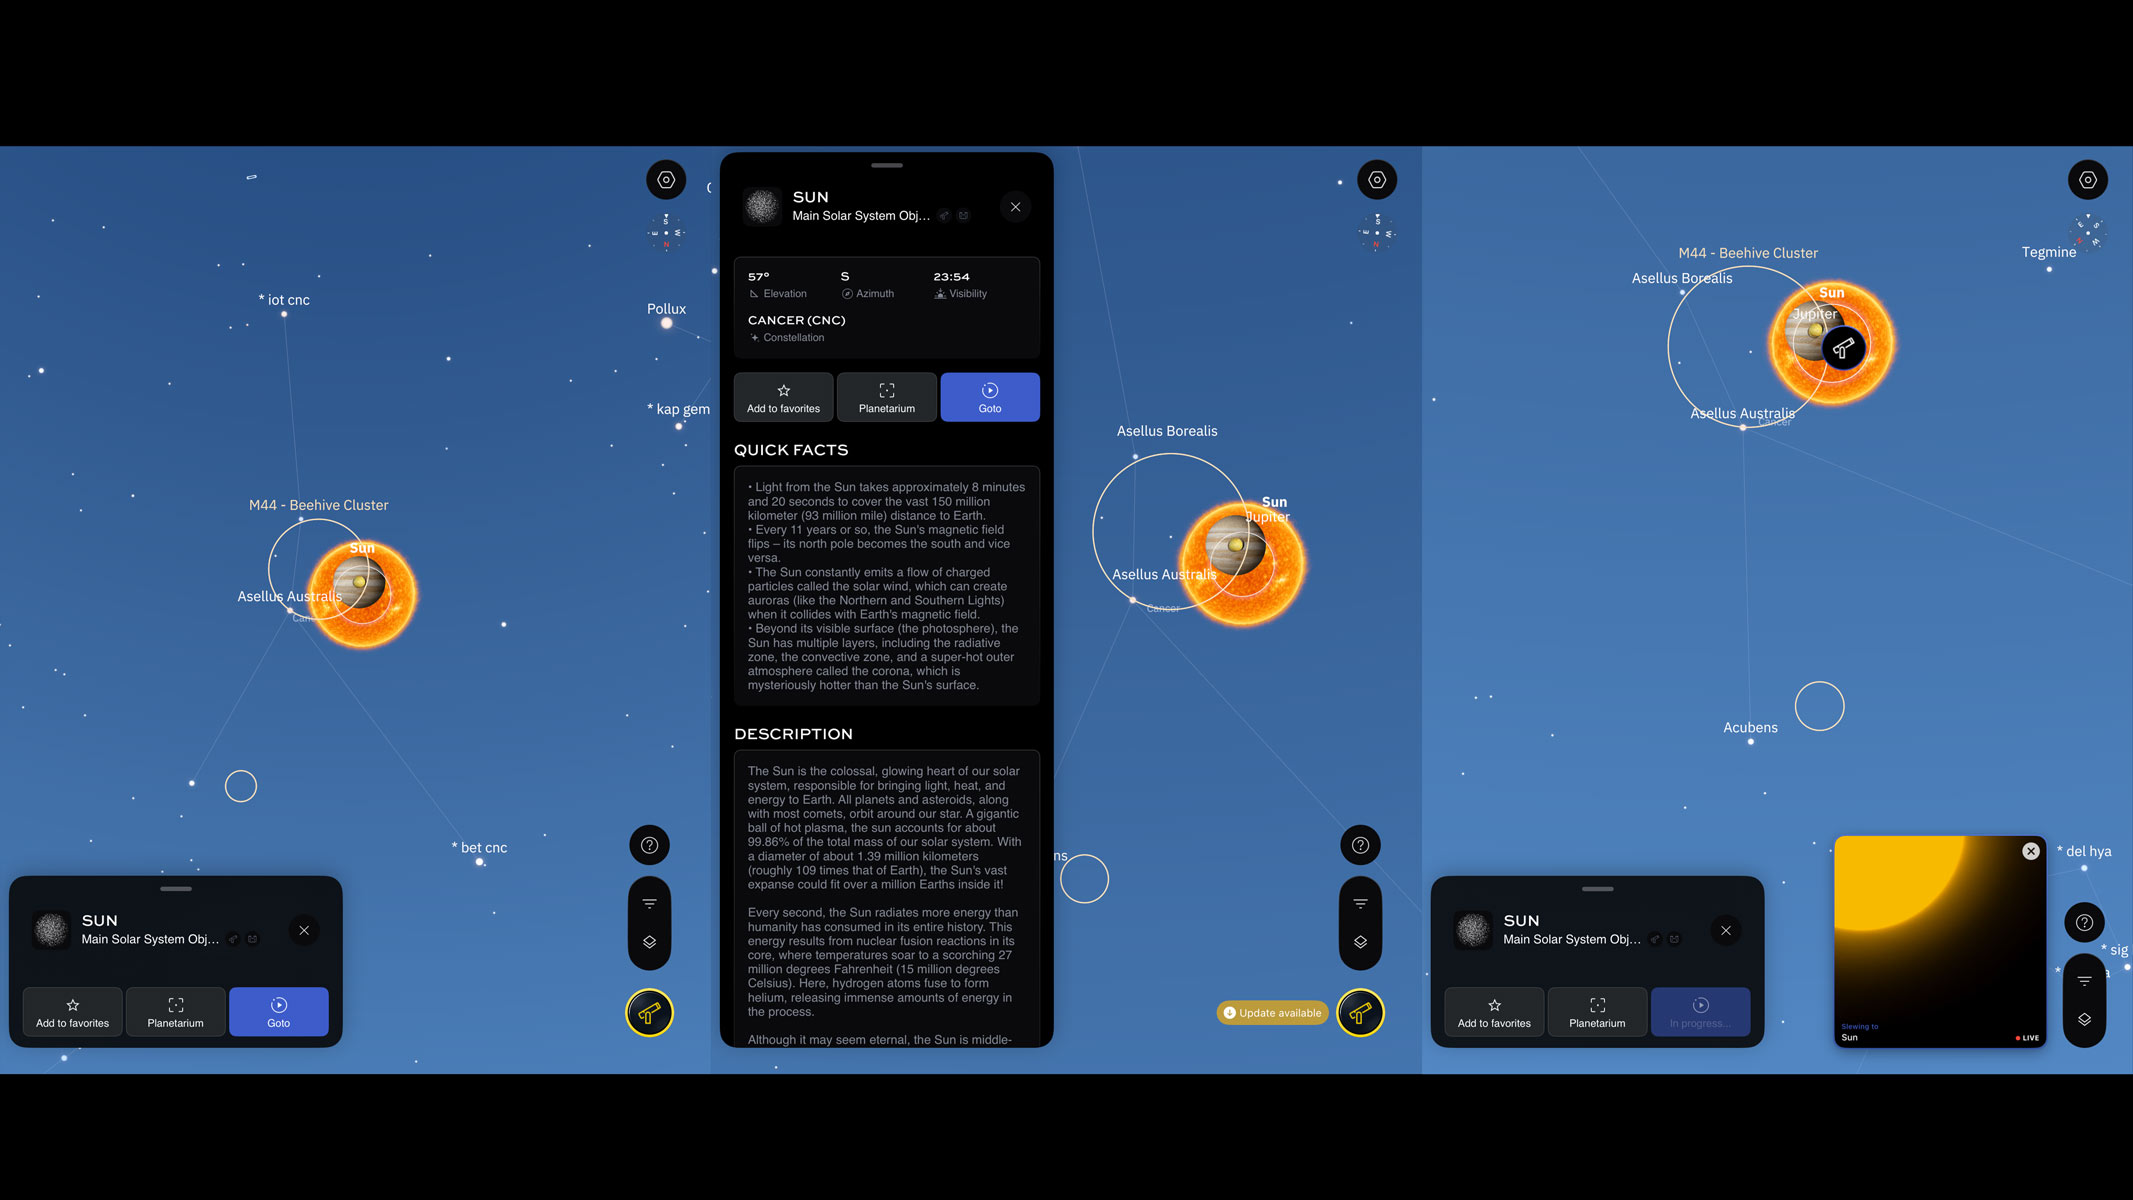
Clicking on go-to for the sun brings up a series of slides to guide you through how to safely observe the sun with your device. The app also recommends positioning your telescope mount in the direction of the sun with the motor on your right to avoid any issues or delays in slewing.
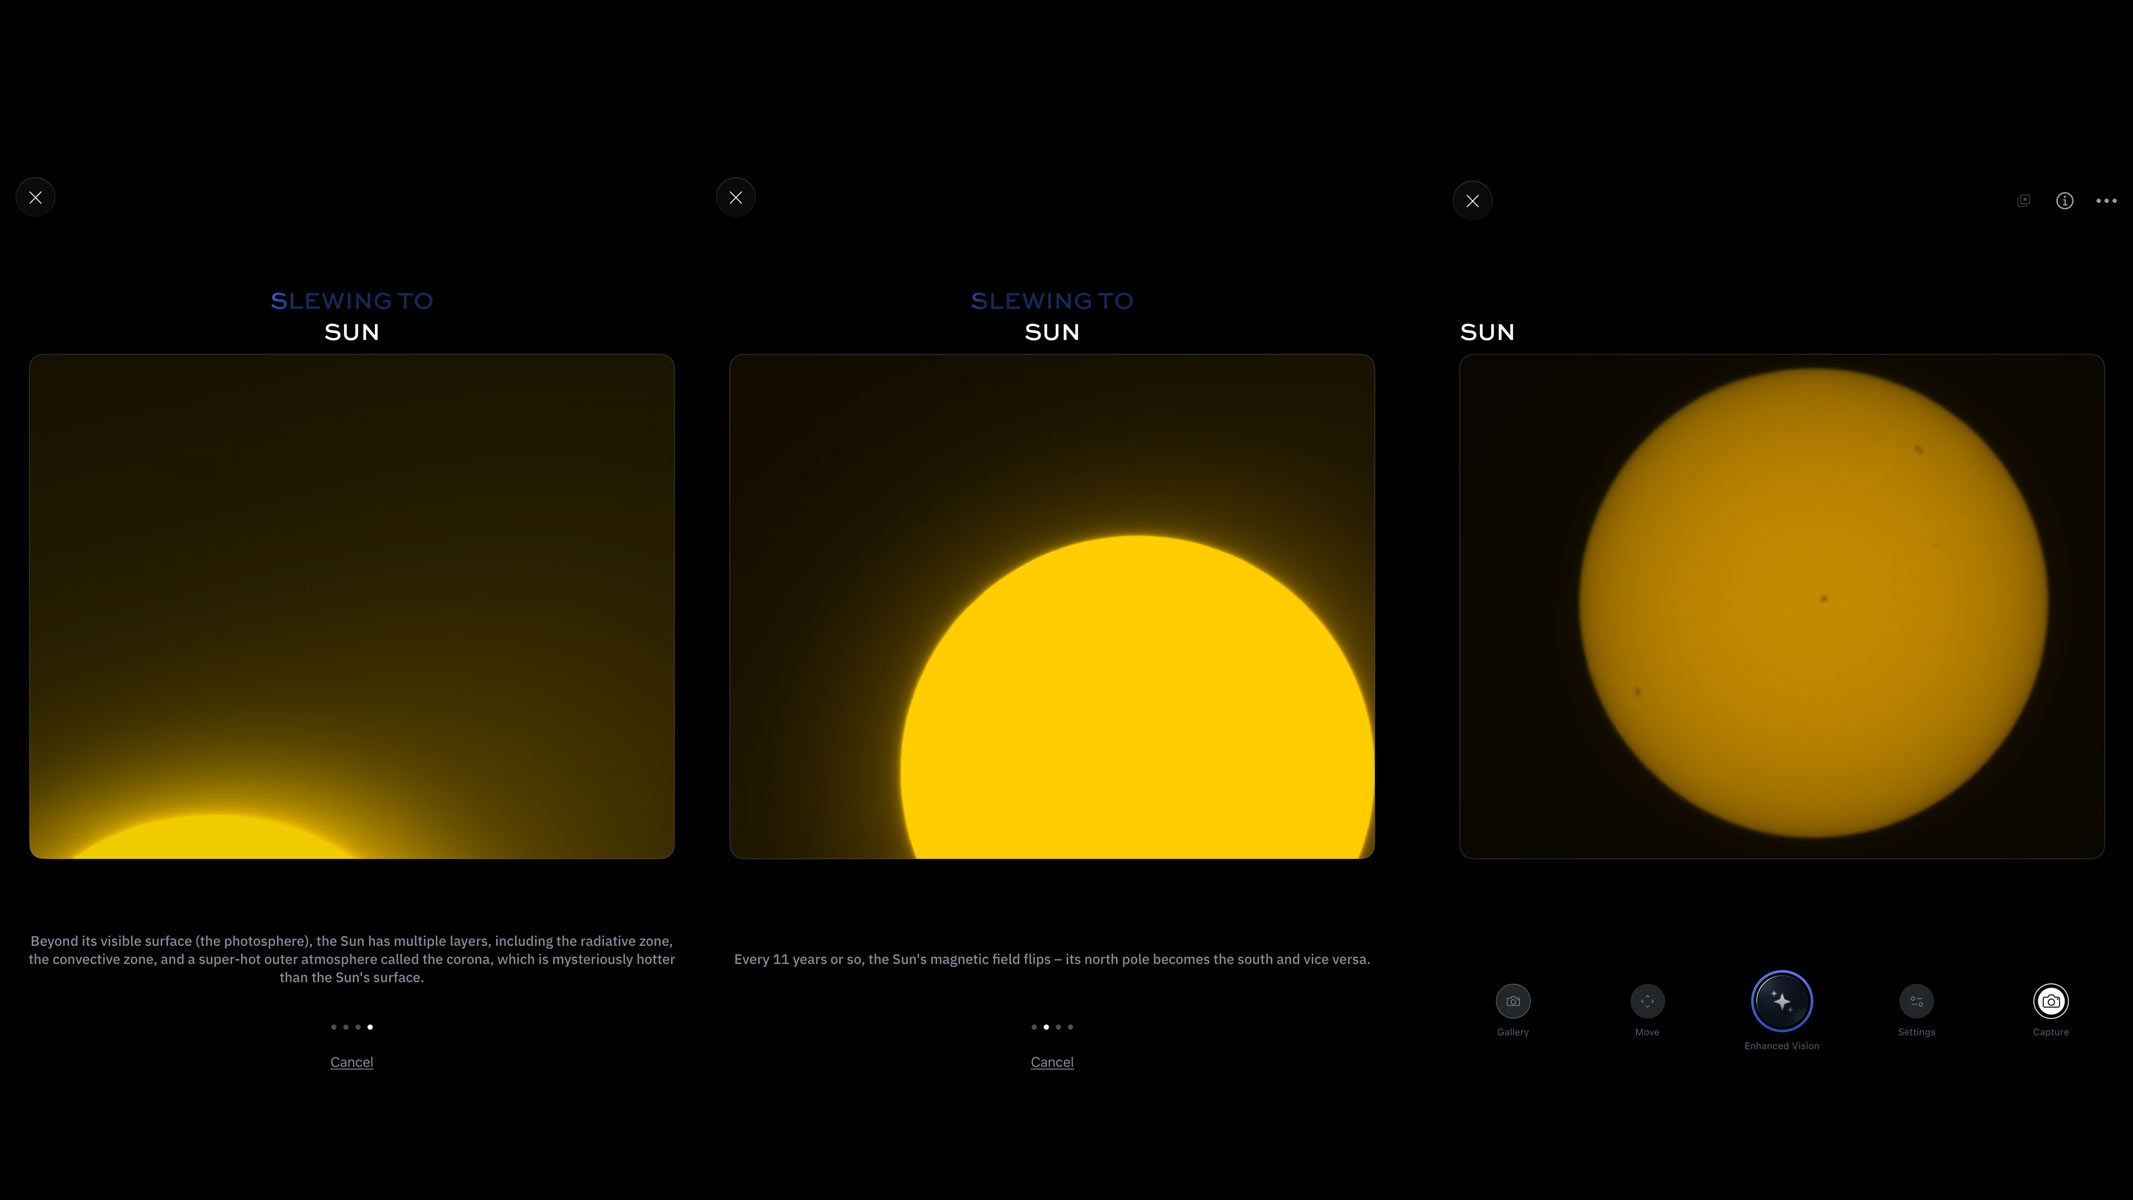
After pressing go, the smart telescope should move and slew towards the sun. It can take a little while but it is rather exciting as you see the edges of the solar disk flash on the screen as the telescope gets closer and centers the image.
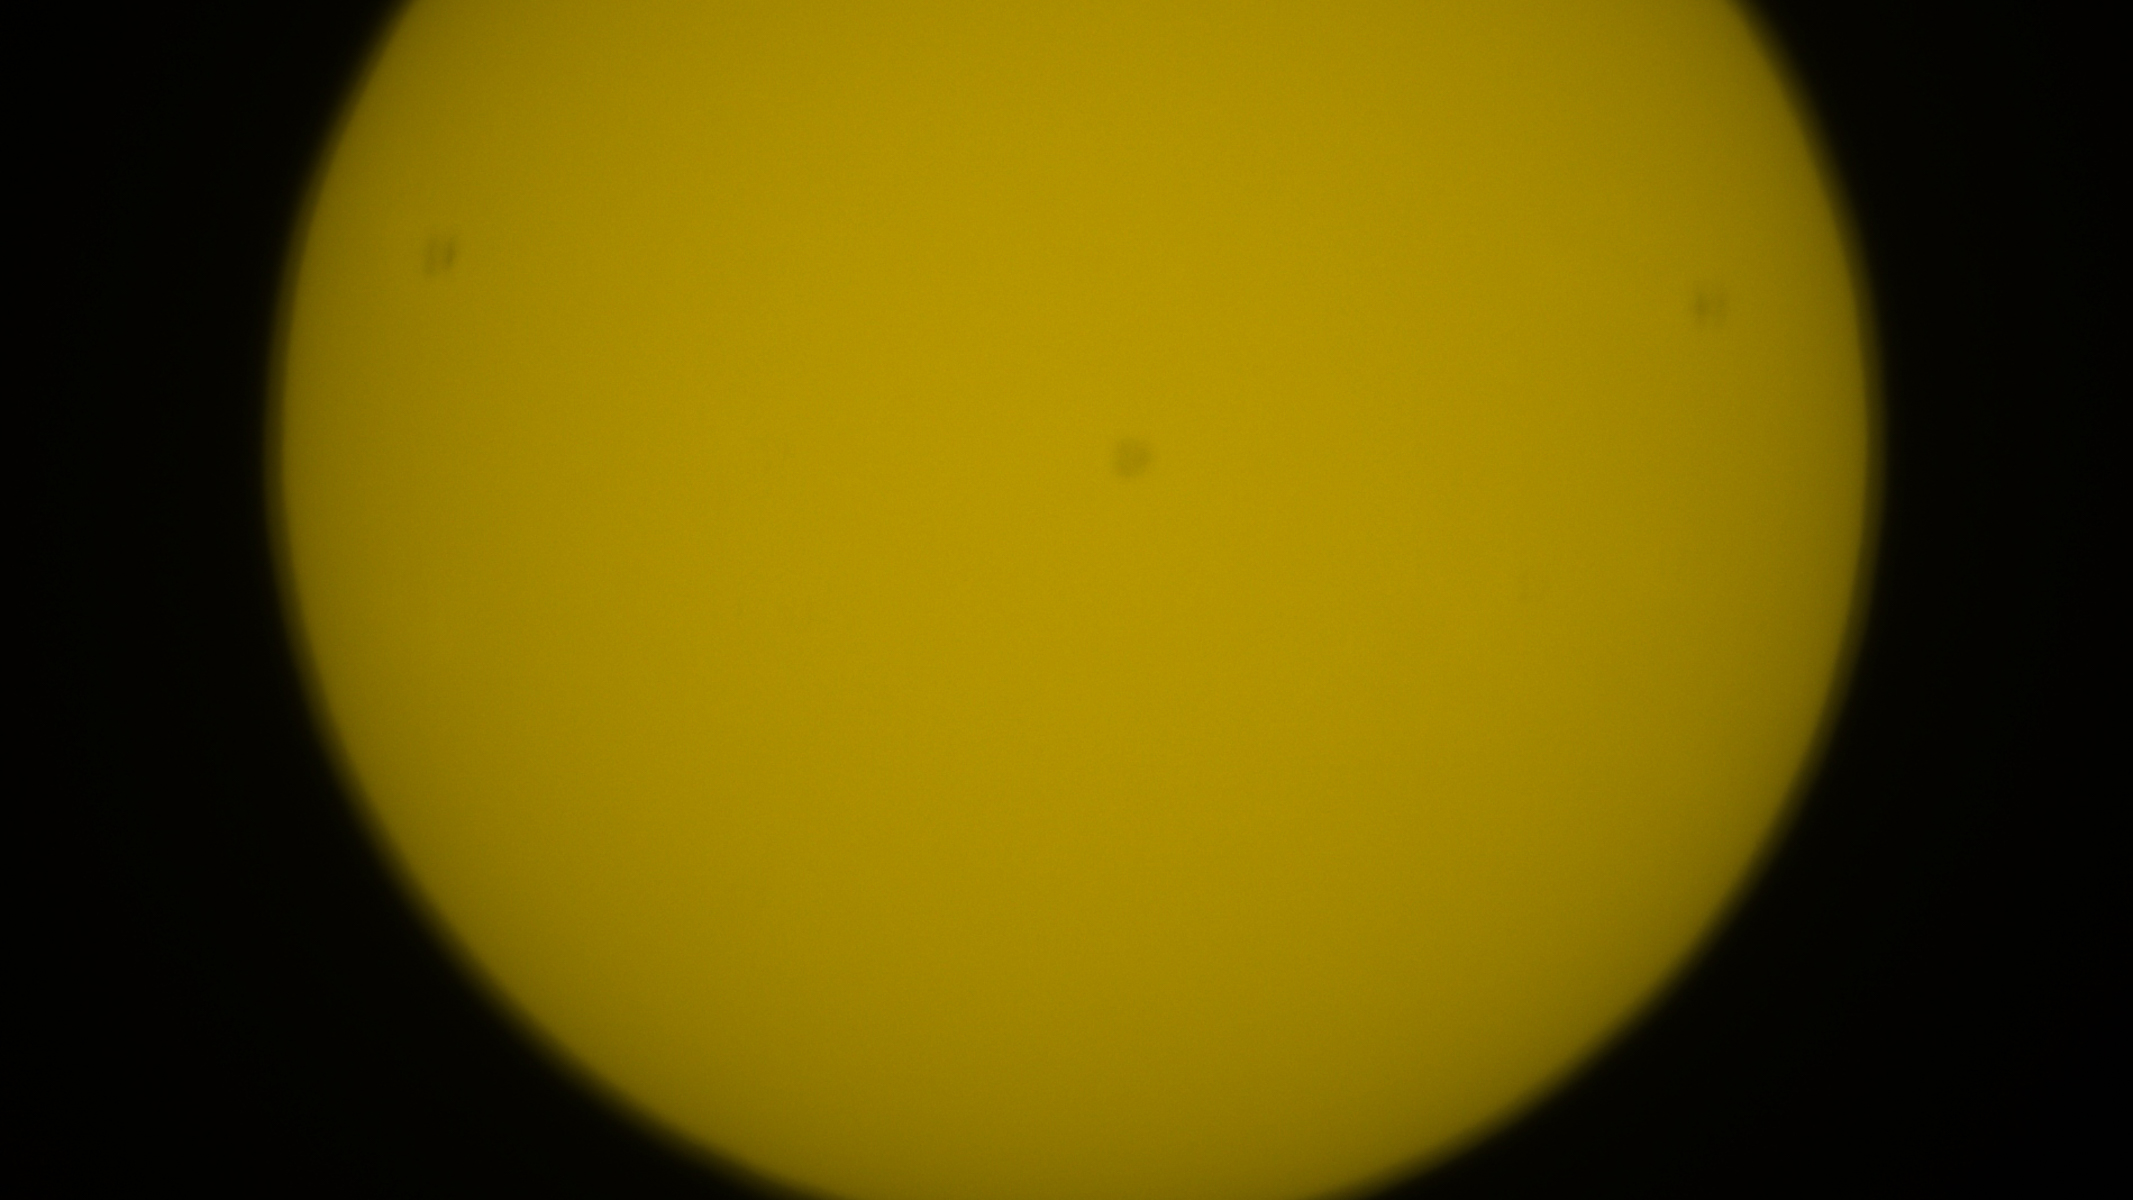 Once I found the solar disk, I saw that the sunspots were out of focus.Harry Bennett / Future
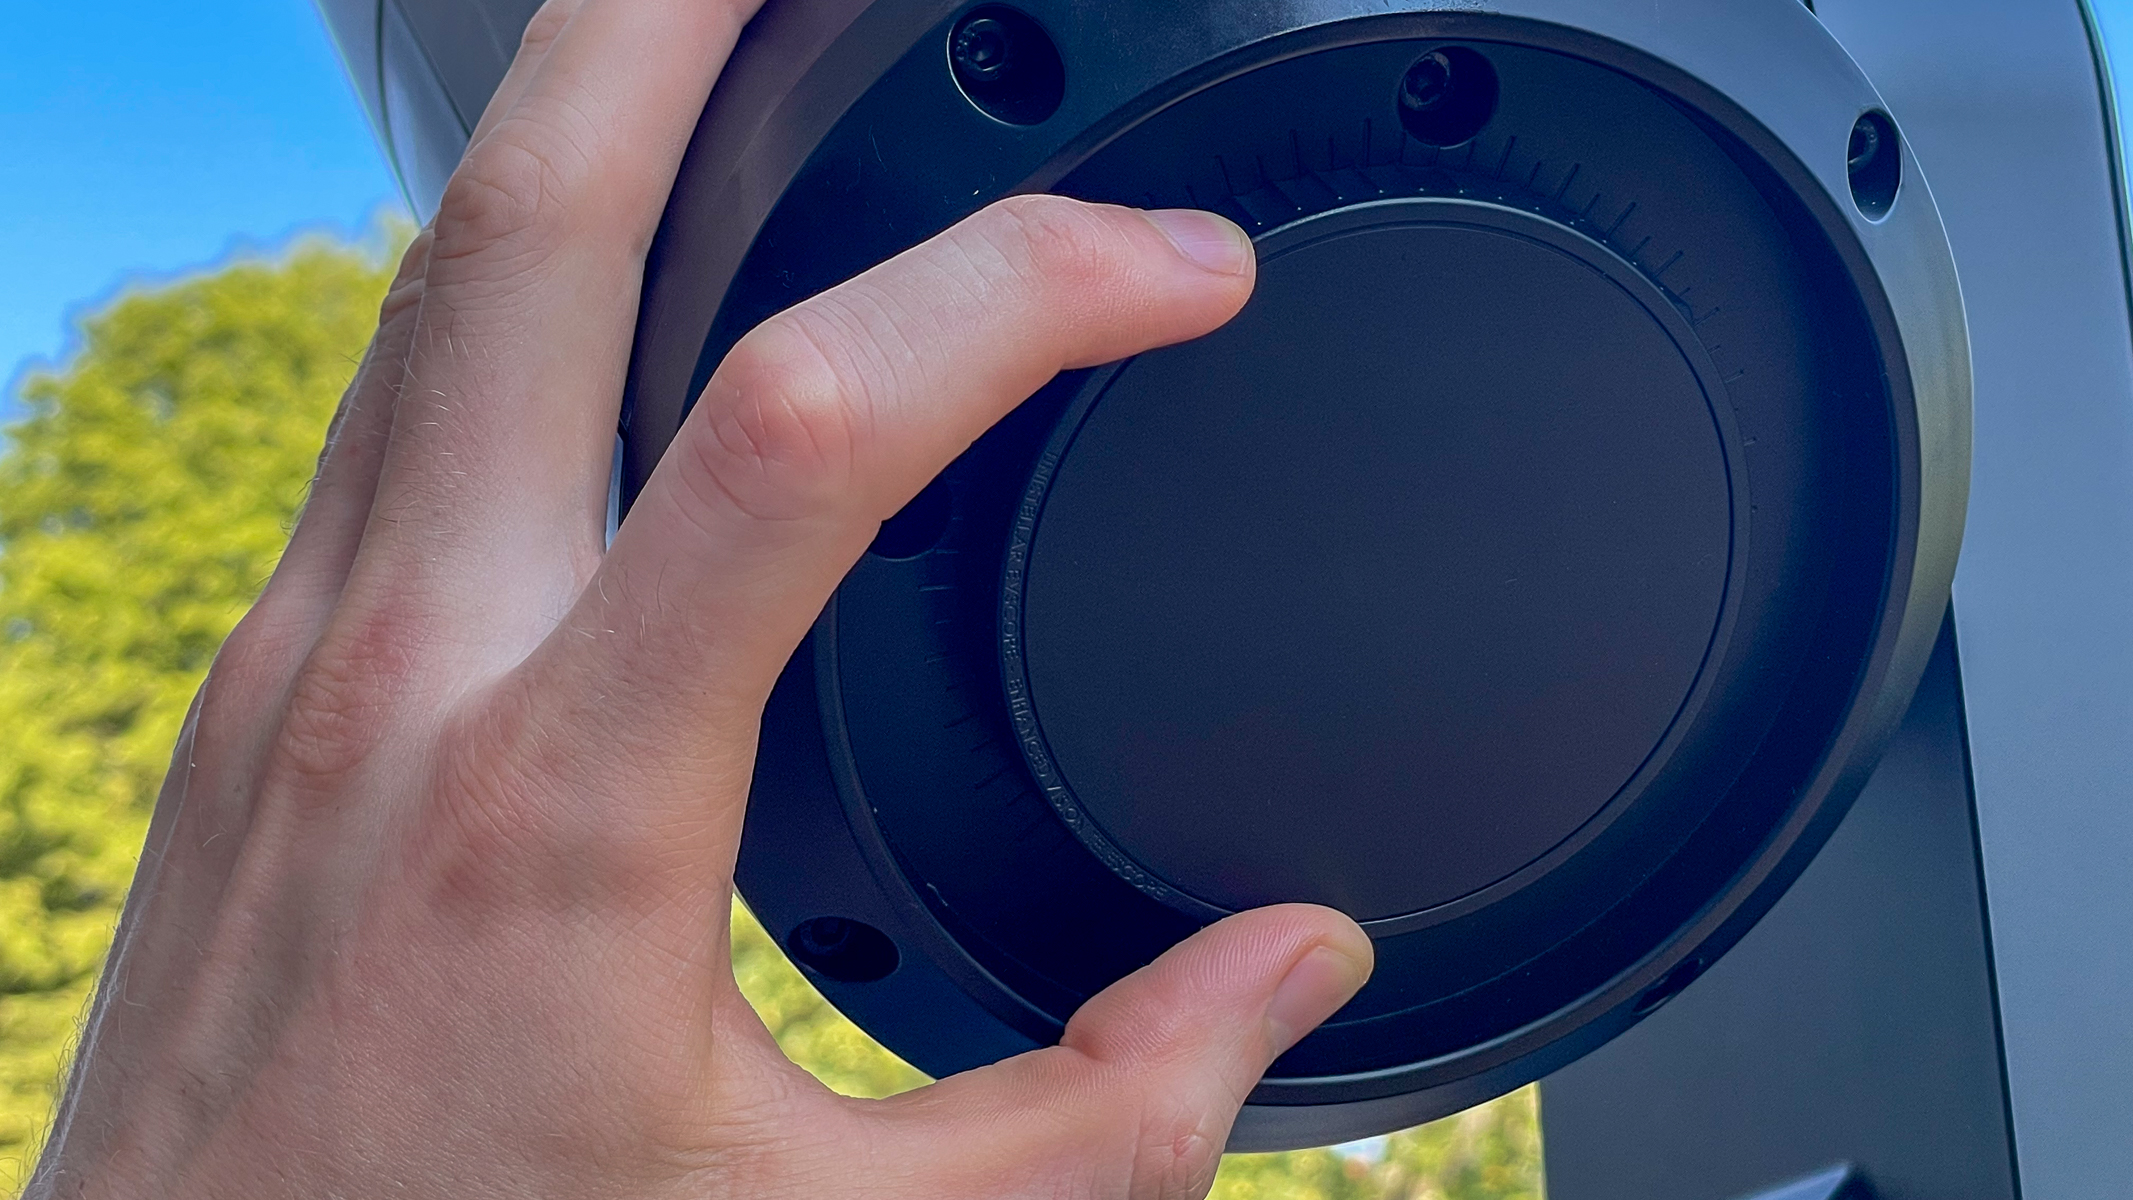 Using the focus wheel on the bottom of the Unistellar eQuinox 2, I incrementally adjusted the focus.Harry Bennett / Future
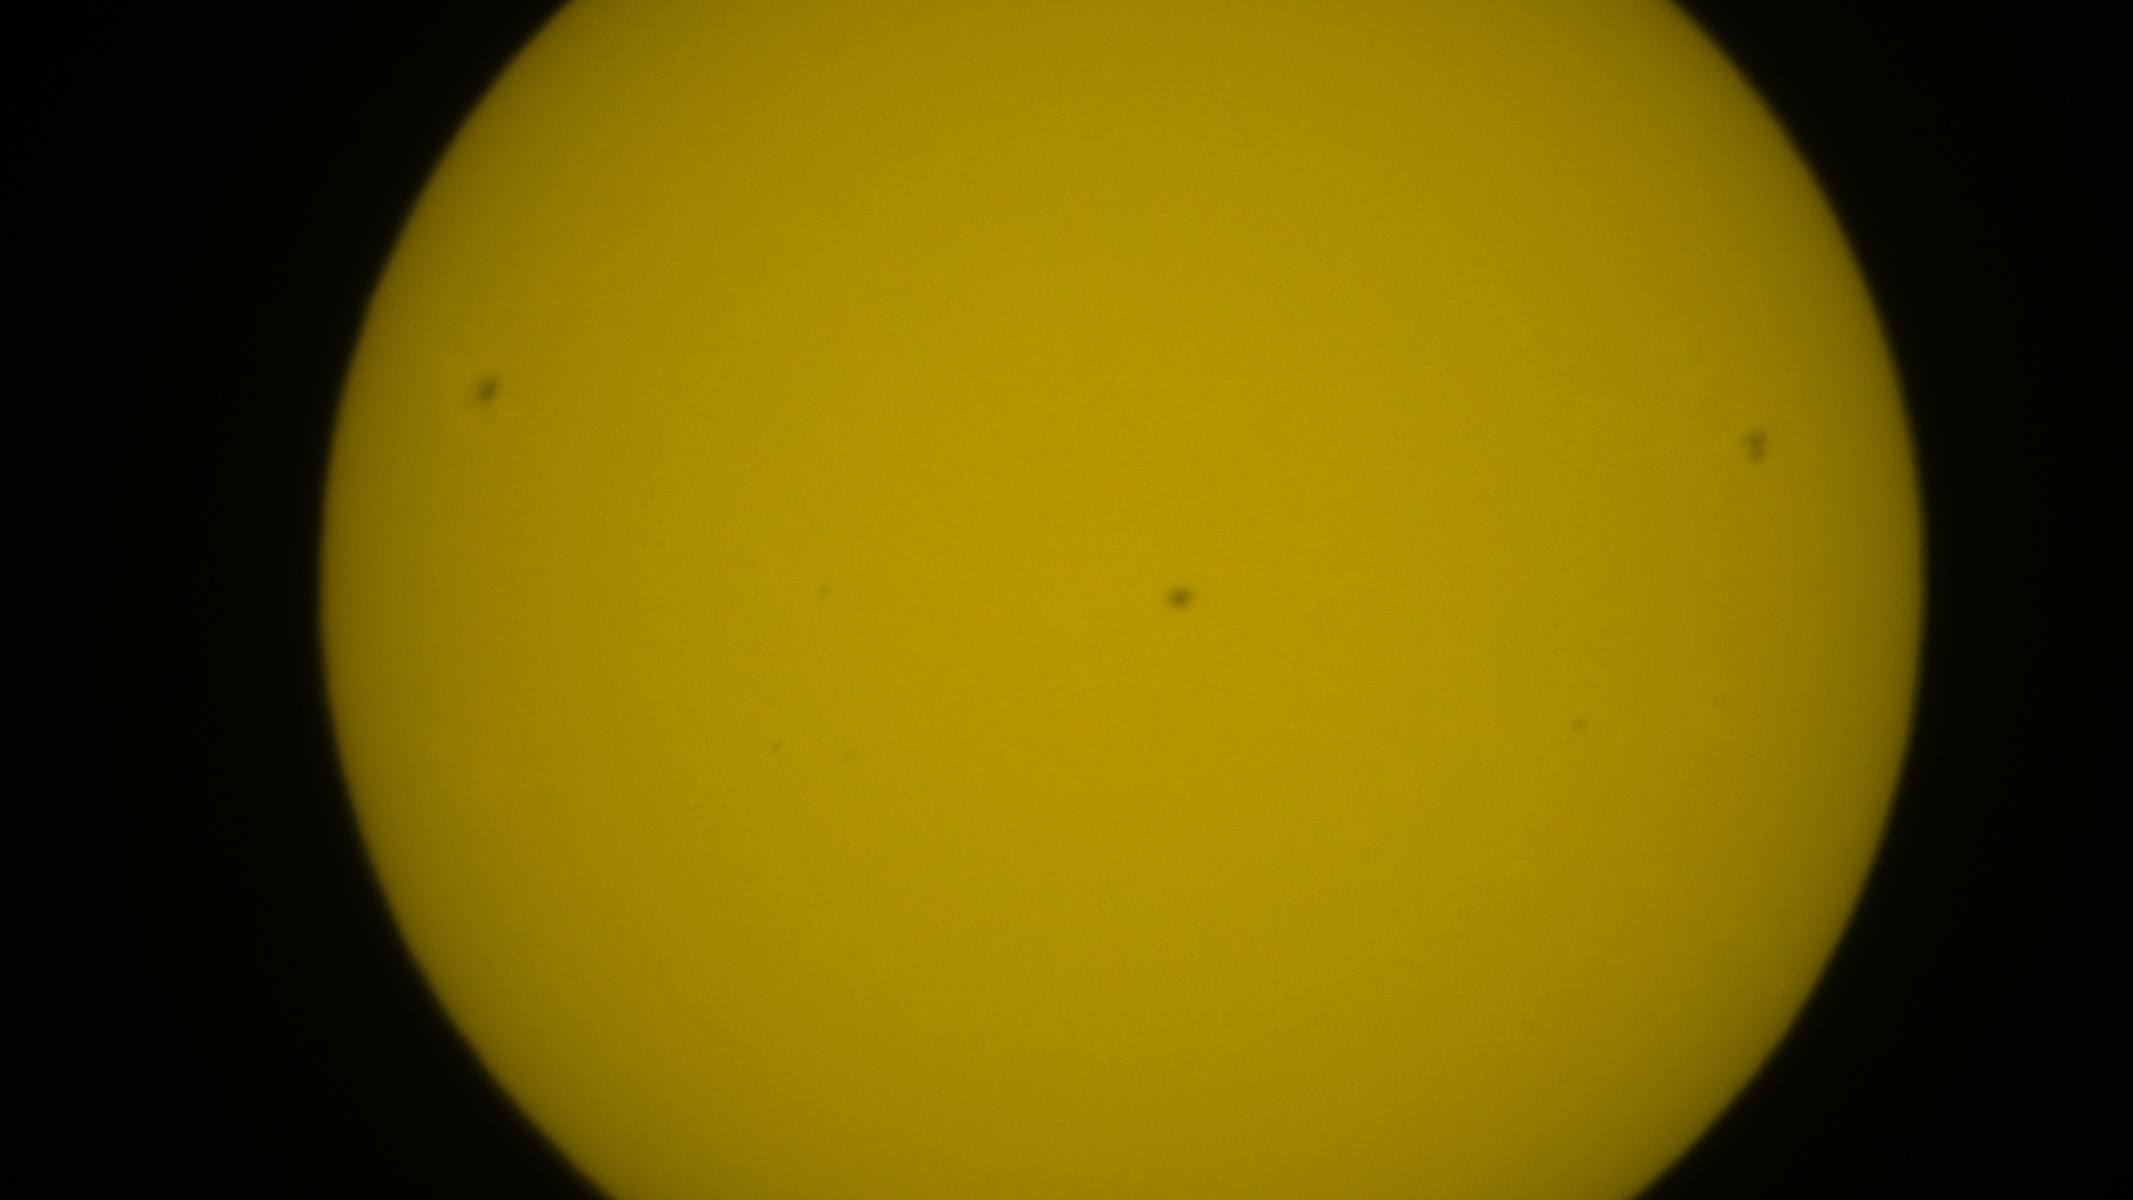 When focusing the sunspots on the eQuinox 2, they only get darker and slightly sharper, but sharp focus is not achieved until stacking. Harry Bennett / Future
For smart telescopes with manual focusing, you will need to make sure that your image is in focus. Now on a bright sunny day, this can be tricky to see on a smart device screen but it is essential to getting a sharp image of sunspots. Using the wheel at the bottom of the eQuinox 2, I gradually adjusted the focus in small increments to allow for live image delay on my tablet. I used the sunspots as a guide for my focus, but it was still difficult because they don't become crystal clear during focusing, they just get slightly more defined and darker.
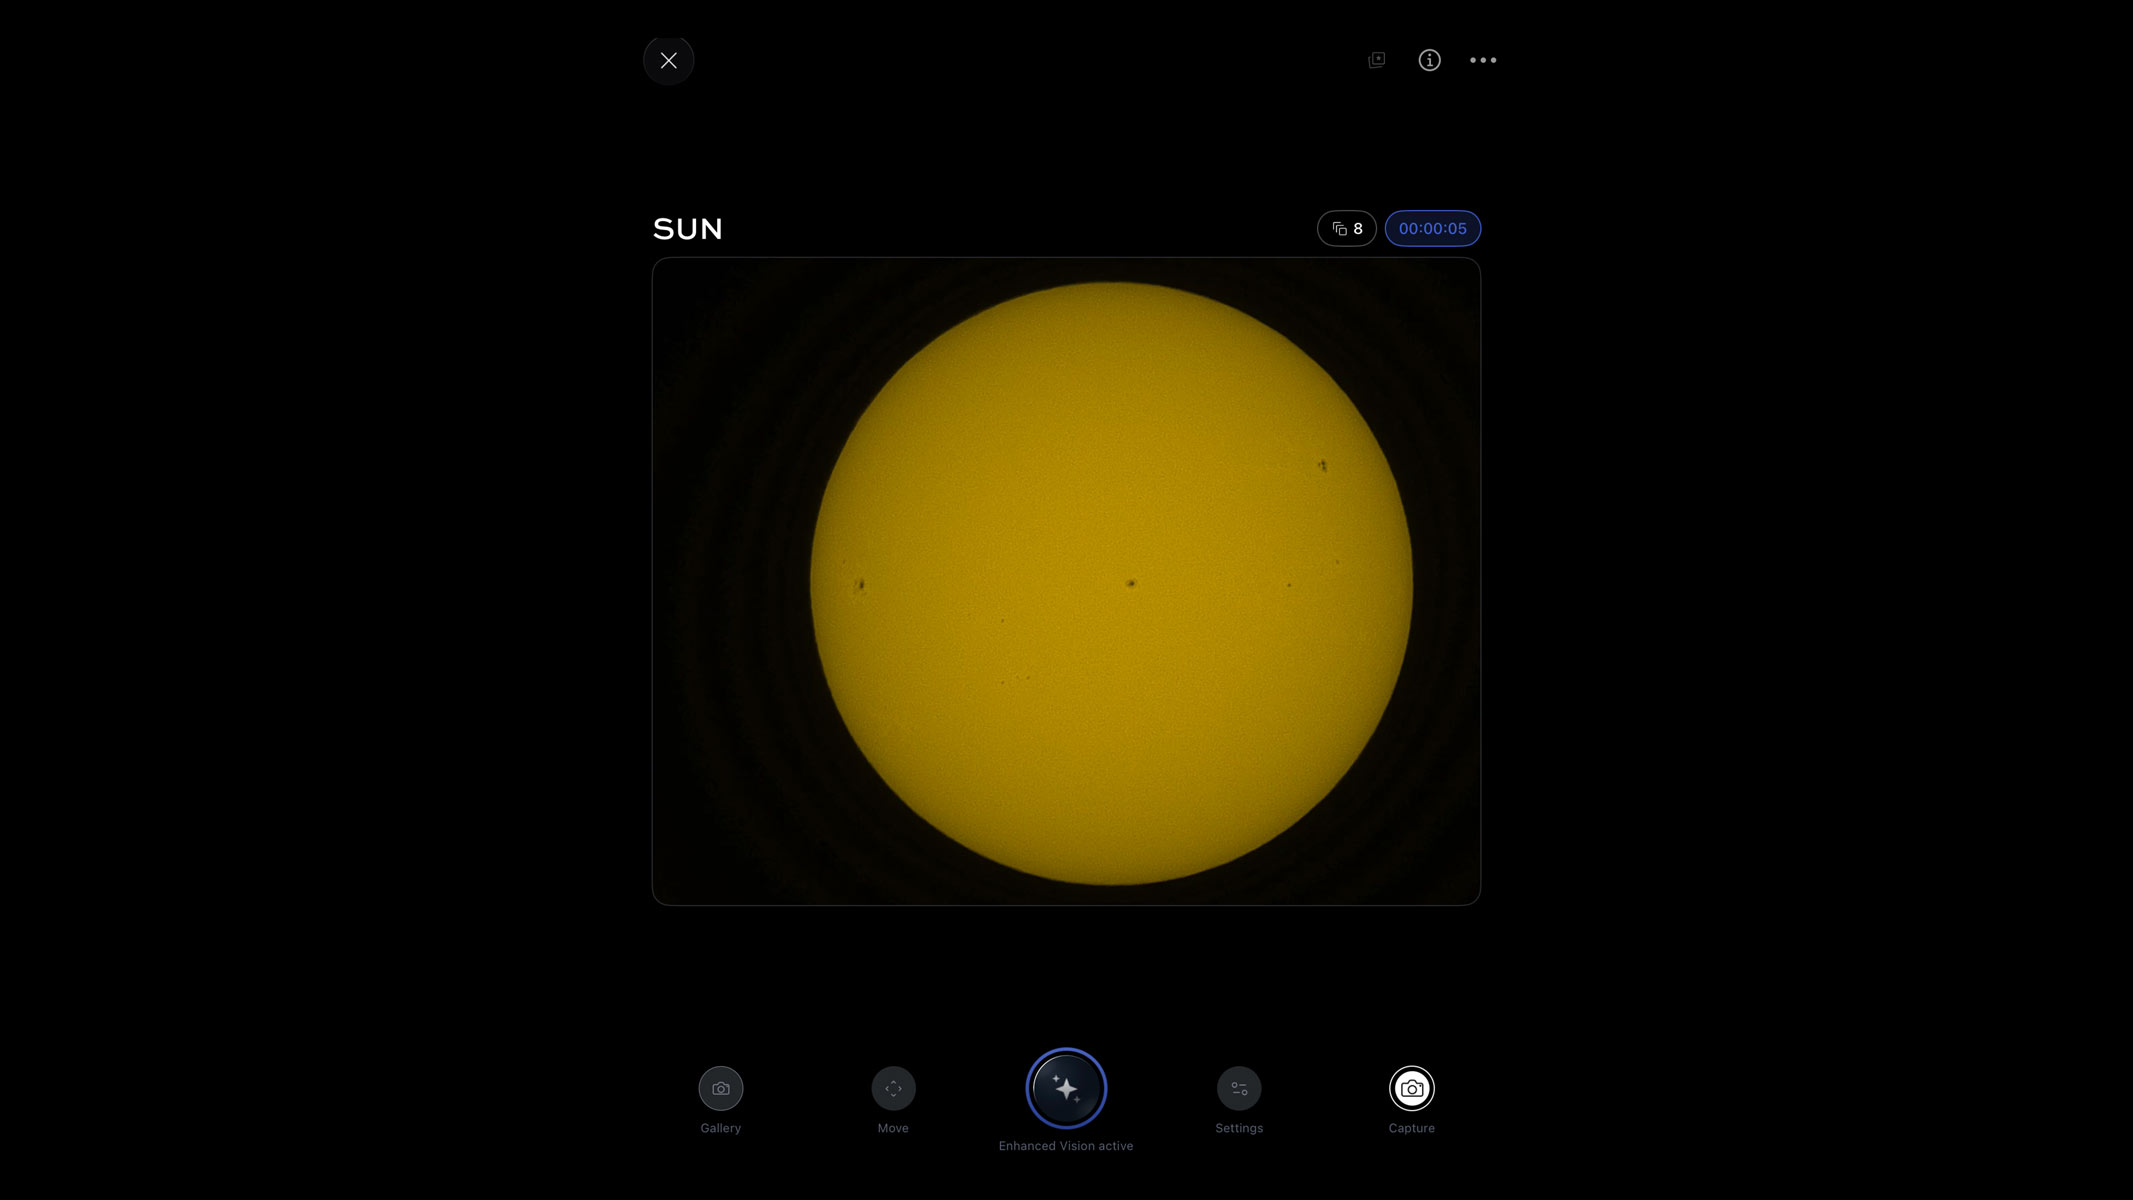 Selecting enhanced vision on the Unistellar app starts stacking exposures and develops enhanced sharpness on the sunspots. Unistellar
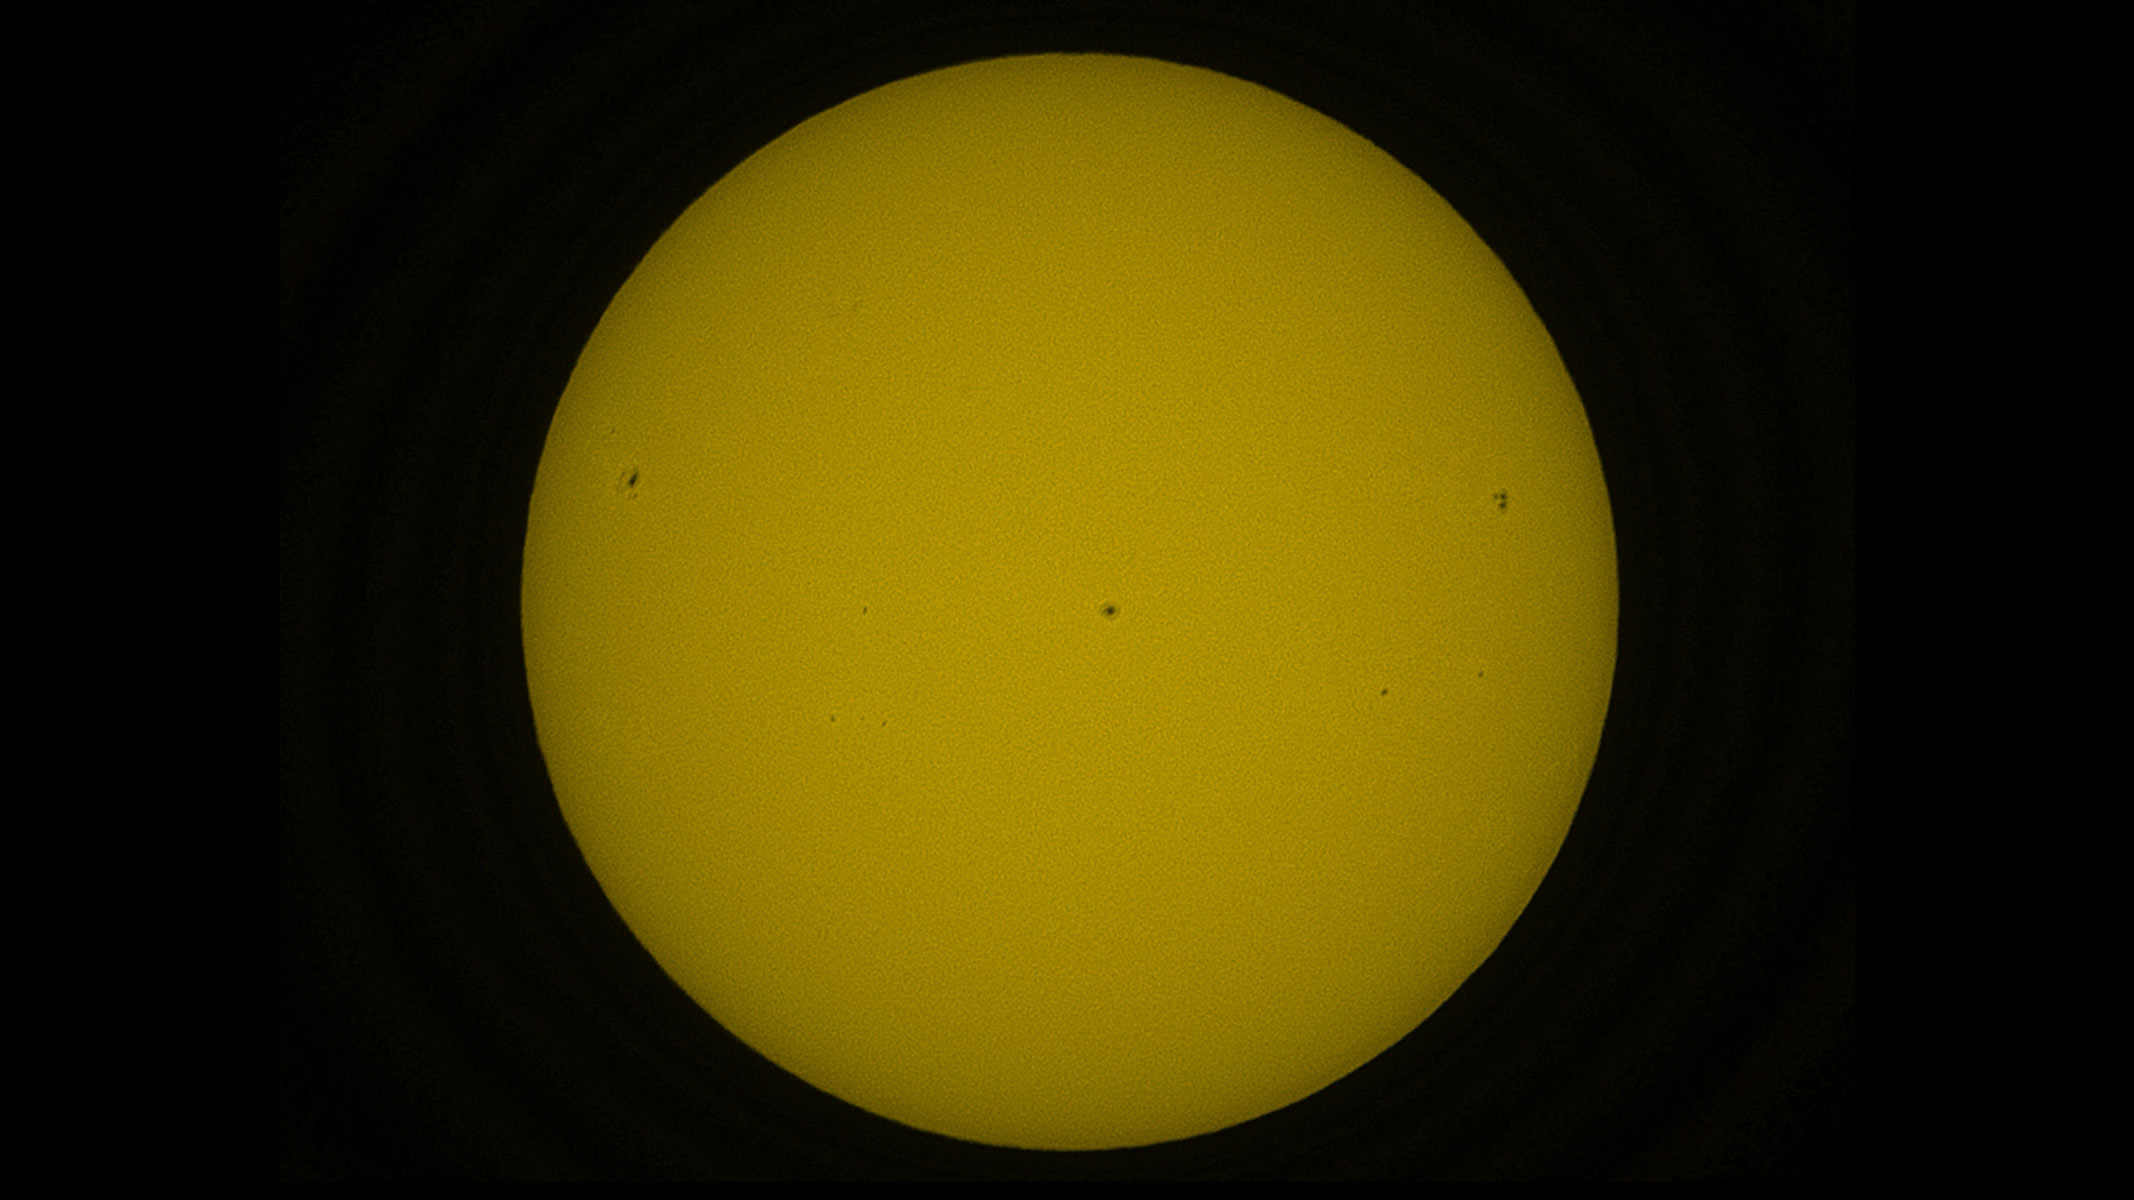 By stacking frames sunspots and surface details become sharper.Harry Bennett / Future
The real detail on the surface comes after you click enhanced vision mode or equivalent on the app, which starts live stacking of exposures of a few milliseconds and reveals a much more textured view of the solar surface. The sunspots get much sharper edges and you are able to see both the umbra and penumbra on some of them. In my imaging session, I got an image displaying the larger active regions of 4498, 4496 and 4492 as well as some smaller regions.
Observing an eclipse with your smart telescope
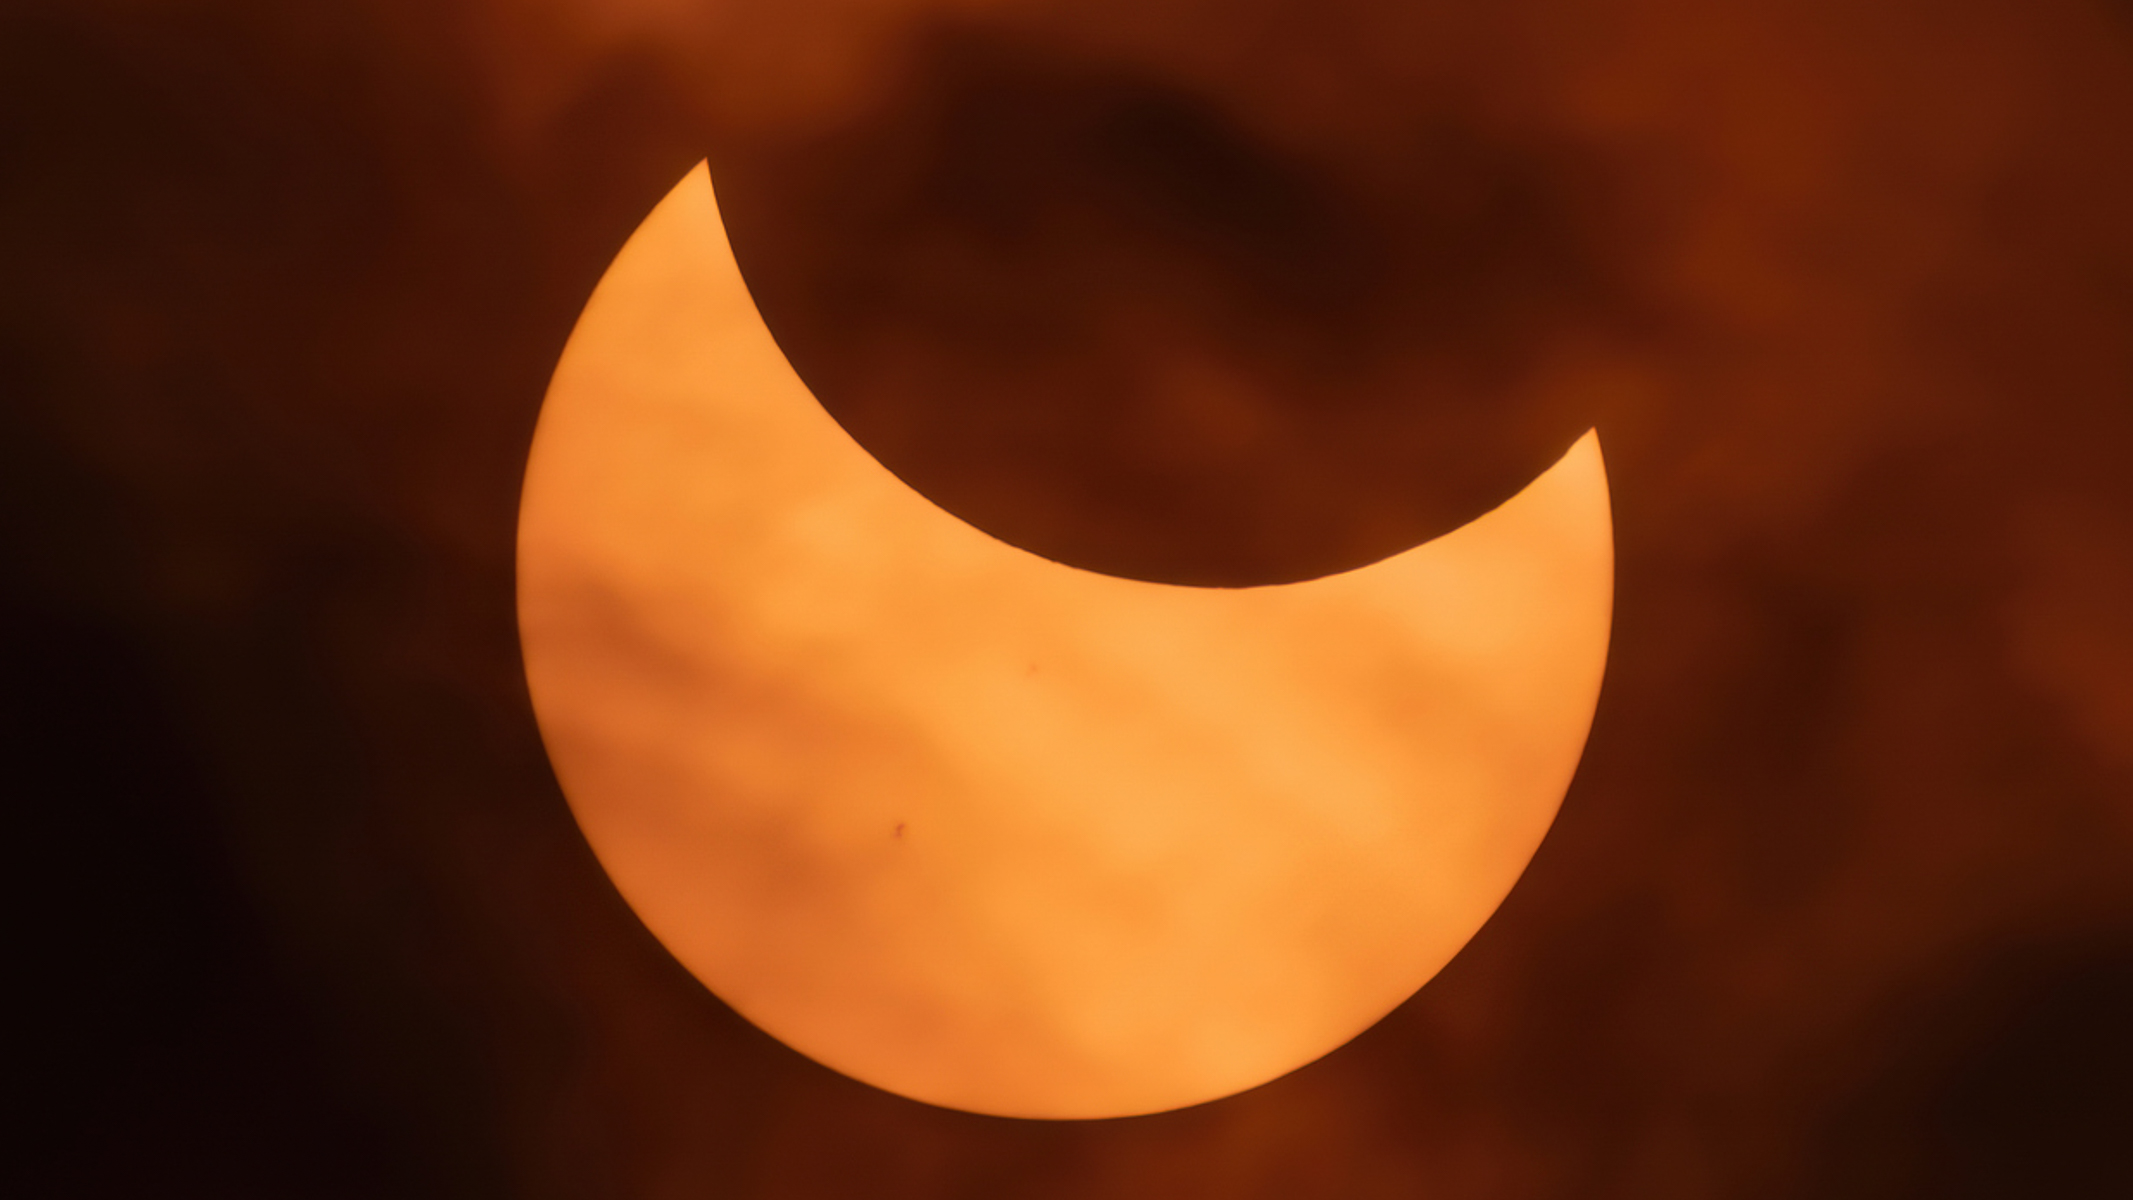
You should prepare well in advance if you are planning to observe a solar eclipse and test out the kit there before the big day. You don't want to be learning how to use your device on the day of the eclipse. Practice setting it up for solar observation a good few times before the day of the eclipse.
Using one of the best stargazing apps or the official Unistellar eclipse page, you can find out where the eclipse will be visible from and the time of maximum coverage in that location, so you can plan accordingly. The Aug. 12, 2026 total solar eclipse is just before sunset will be very low on the horizon, so you would need to find somewhere with a good view of the sunset and, ideally, do a practice run a week before. Setting up a few hours before the actual eclipse is necessary to avoid any last-minute disruptions and to get your telescope trained on the sun before the lunar disk starts to eclipse it. This is assuming that the skies are completely clear and free of clouds, but this is definitely something you should check before hauling your kit to a remote location. I use the Met Office Cloud cover map for the UK but other sites offer US and international coverage such as and Ventusky, SAT24 and Astrospheric.




 Bengali (Bangladesh) ·
  English (United States) ·